Saturday, July 4, 2015

Red, White, and Blue--Part Two


Last year about this time I did a little patriotic parade of all of the red/white/blue creations I have made over the last few years. You can find it HERE. Well, there have been a few additions since then, so I thought I would tack them on here.

 This fun hanging kind of came together out of nowhere--okay, maybe not "nowhere", but I started out to create a very different quilt.


As I was digging through my stash to find what I needed in order to make what I was seeing in my mind's eye, I came across these little flag pieces, shown below.


I have absolutely no idea which fabric company made these, or when. I think I picked them up years ago, in a now closed quilt shop that had a scrap basket I haunted fairly regularly. These were just as you see them and I never could seem to figure out a way to use them--until now. There were actually four of them in my scraps, but I couldn't get the fourth one to look like it belonged.

I'm pretty pleased  with the final results. The whole thing has a bit more of a whimsical feel than I usually do, but it seemed meant to be this way. The little star buttons, the swirly star border fabric, the striped binding fabric all surfaced just when I didn't know what to do next. Now I know what to do--hang it up! No name as yet. : )


I did it--I made one for me after all. I had such a hard time letting go of the little "Small Honor" hanging that I donated to my family reunion auction last month. Now there is one in my home. I just can't decide where it belongs. And in my last post I mistakenly listed it as finishing at 4x6 inches. I was wrong. It is a whole lot bigger than that. It is 4 1/2x6 1/2 inches. *LOL*


The banner hanging below was made by DD#2, and it graces my dining room wall during the summer. This year I added the little quilts at each end.
The little pinwheel quilt on the left is adapted from a quilt made by Kathie Holland, formerly of inspiredbyantiquequilts blog (anyone else miss her as much as I do?). Kathie donated the fabrics.
On the right is an AAQI quilt I purchased that was made by Jean Tanner, of Iowa.


Recently Miss Stacy (Buttermilk Basin), posted this wonderful free pattern for a little pillow, or pincushion, during the Summerthyme blog hop she was sponsoring.

I may just create a little wall hanging (can you ever have too many?), and was auditioning a border fabric. Everything is fused and ready to stitch. The buttons are being auditioned, as well. I just might get the stitching done on this tonight--then again, might not.

Her pattern makes a 5x9.5 design.


I have a couple of other things in the works that obviously won't be ready for this year's celebration. I've wanted to make another little patriotic tumbler quilt, besides the flag (see tutorial in my Pages Bar, above).

So, as I have had my patriotic fabrics out working lately, I have cut some random 2 1/2" strips and come up with this. Nothing is sewn together--they are just clinging to a design board.
 The tumbler template I used to cut these is not the Tiny Tumbler from Primitive Gatherings that I used to make the Tumbler Flag. I wanted to make this to top an end table in my living room and it would take forever to sew together enough of those tiny ones to cover it.
I used the Missouri Star Quilt Company Mini Tumbler that is designed to fit perfectly on mini charm squares. You can see the difference between the two. Still small enough to be cute, but makes up a fair sized mini much quicker, when you have the need.

Finally, a while back I bought 7 of these 16" blocks from Michelle C (Michelle's Quilts & Stuff blog). I have 6 of them in a project box with a few other star blocks that I am going to combine into a throw quilt.
 So this orphan has been lonely, until I had a light bulb moment and decided to deconstruct it.
The block was made up of 16 squares, so I took my trusty "speedy seam ripper tool" (aka rotary cutter) and separated the blocks.
 Using the Itty Bitty Eights rulers, I sliced them into 3 equal strips.
 Then I turned my rotary cutting mat and sliced them into 9 equal squares.
When all of the HST blocks are sliced, I am going to play with some possible layouts for a R/W/B mini. May not get to this right away. But hopefully next year at this time, I can include the finished mini in that update.

July 1st we had a beautiful (though very hot) evening--moonrise and sunset were both gorgeous. I may put one of these in my header.


Have a glorious 4th of July, whether or not it is a holiday in your neck of the woods.
Until next time,
Janet O.

Sunday, June 21, 2015

It's A Small Honor

That is the name of the pattern from which that little mini in the center was created.
 It was designed by Diane Hansen and was published in the July/August 2003 issue of Fons & Porter's Love of Quilting. It finishes at 4"x6". The pattern was sent to me by a special blogging friend and she knew I would love this mini pattern. Wish I could leave it hanging there, but I donated it to the family reunion auction on Saturday and my younger sister bought it. I was happy to see her get it. Maybe I'll make one for me someday. : )

The pattern is foundation paper pieced. I machine quilted it all, except the final round of quilting in the outer border. That is done by hand.
That little piece is really all of the quilting I have done since I got home from visiting DD#1 in NH. But I do want to share a couple of quilty things from my visit with her. If you are ever in the area of Milton, NH, and you love primitive style, be sure to drop in and visit Camille at the shop in the basement of her home. What a treat.

This is my daughter and Camille. Camille is looking at my new grandbaby, but due to the rules governing the private adoption, I can't share photos of the baby on public social media for a few more months. But you can tell by the look on Camille's face that she is very cute! : )

Click on the small photos below to enlarge them and take a tour of some of the displays in this very fun and friendly shop.


 This was what came home with me from Evergreen Country Primitives. Wonderful fabric finds, and great wool, patterns, and notions.

The other quilt shop experience I had in NH took place in Center Harbor.
I just happened to be visiting DD#1 the week of the Keepsake Quilting Tent Sale. I have often heard about it, especially on Victoria's blog, but never thought I would be there. Tried to meet up with Victoria, but had a little family emergency and couldn't get there until later in the day. My daughter and I each filled a scrap bag as full as could be, I bought a book, and these lovely fabrics.

When I got back home to Utah I found two delightful surprises--packages of scraps from a couple of blog friends. I appreciate them thinking of me. I do love scrap quilts and you can never have too many scraps! I emptied my scrap bag from K.Q. and piled them with all of the scraps from the packages together by color family or genre (if there is such a thing in fabric).

One last thing. Saturday was the 37th anniversary of DH and I. We spent the day at a family reunion for which my siblings and I were responsible, and then came home and crashed. But as a parting shot, here we are in our true characters. *LOL*

Until next time,
Janet O.

Monday, June 1, 2015

All my bags are packed...

... I'm ready to go. Just sing along with me here, unless you are unfamiliar with the song "Leaving on a Jet Plane."

I am only going to be gone 7 days, but there are so many things people want me to take to the new baby or the new Mom--and there are a few things I wanted to take to them, too. : )

Maybe I can put my carry-on inside my checked bag on the way home (I hope).


There are a couple of hand-stitching projects tucked into those bags. Nothing new, but some that I will enjoy working on when I have sitting time.


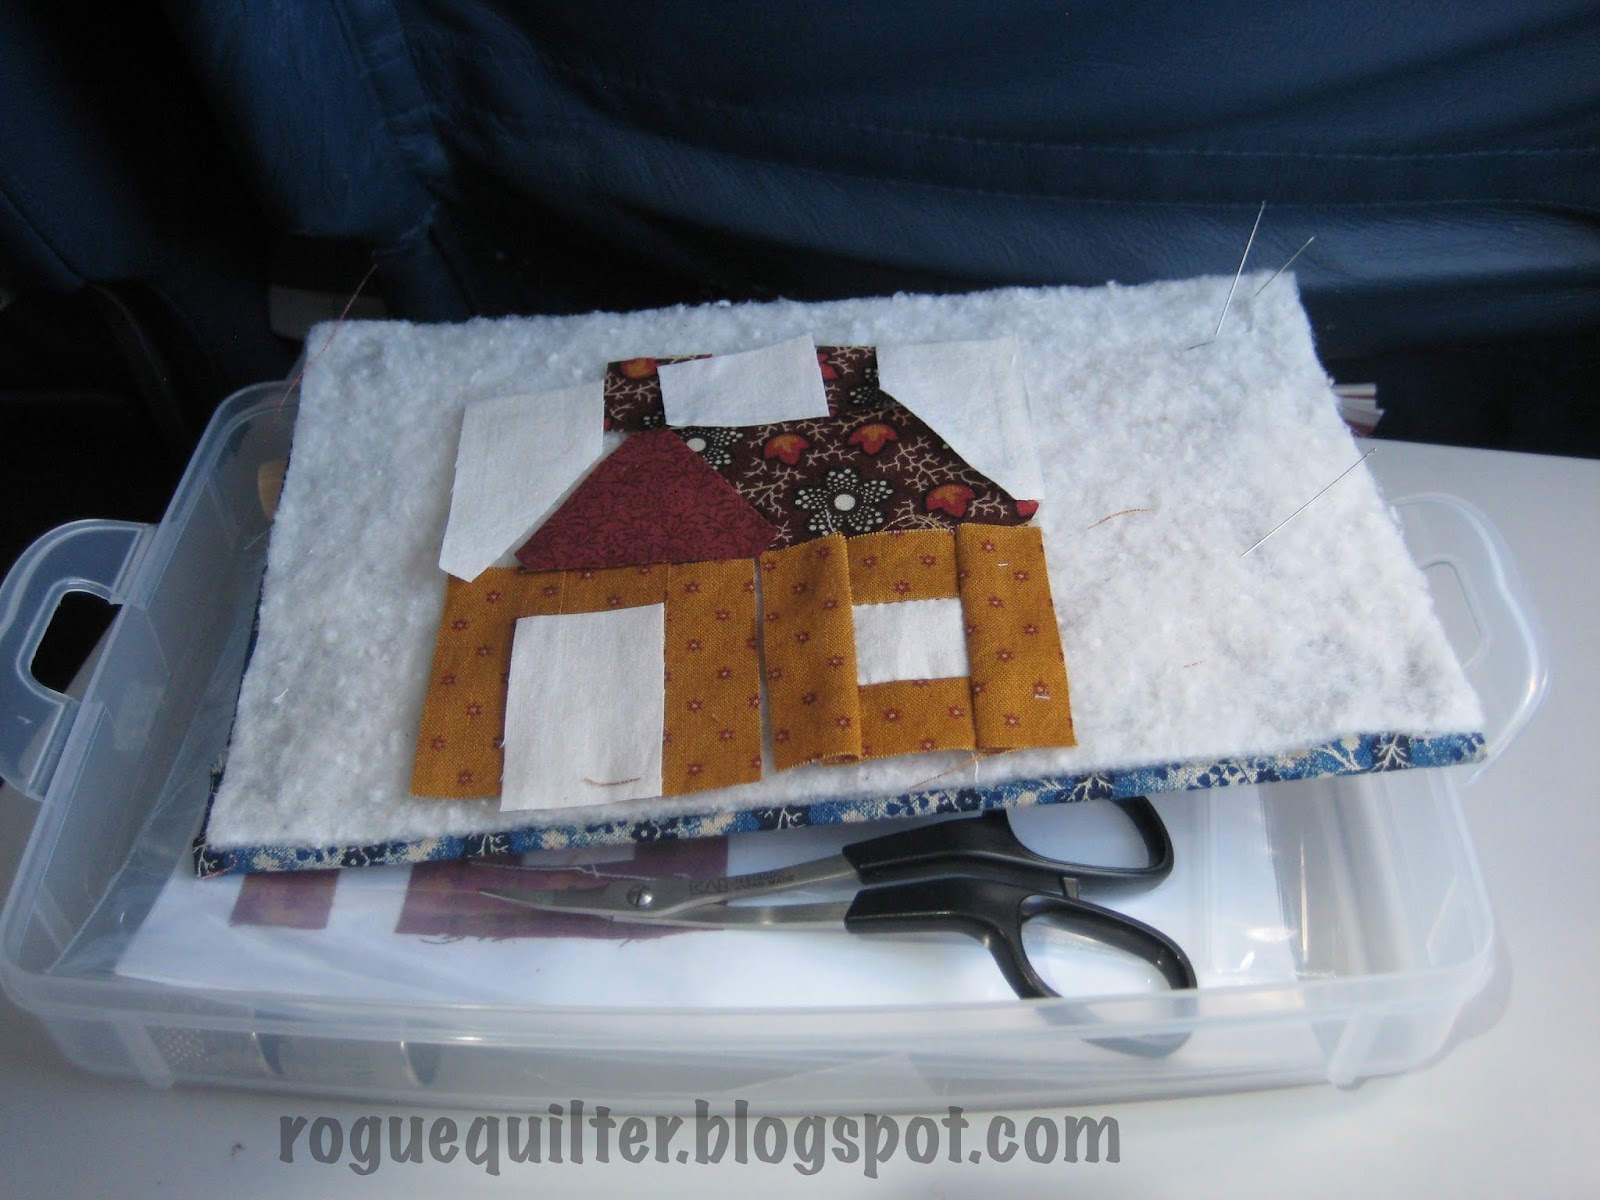
Making Houses From Scraps was a gift project from my friend Annie M. when I was flying to visit my daughter a couple of years ago. There were 12 houses in the kit she sent and I got a few of them finished on that trip and then I worked on them at home until I got enough of them completed to make this little quilt which I call "Annie's Neighborhood."

 It currently hangs in my living room and greets you as you walk in the door.  I have a different layout planned for the other house blocks. I hope it will work out.

This is an old photo of the other project I packed. I have made a little progress on it, but it is packed away and I can't get a photo of it.
Maybe I will have something more to show when I get home.

I leave for the airport in less than an hour, but I wanted to let you know that Taryn (of Repro Quilt Lover blog) won my giveaway. Congrats to Taryn, and if you aren't familiar with her blog, check it out. I love her style.

I probably won't keep up with blogs much while I am away, but I'll catch you in a week.

Until then,
Janet O.


Thursday, May 28, 2015

How Time Flies---

---whether you are having fun, or not!

So much going on in life, that stitching has really taken a back seat, but I finally scrabbled together enough for a post.

Last post I showed a little double 9-patch block I had made using the Itty Bitty Eights ruler. Now it has a purpose. I made it into a pincushion, which finishes at 2 3/4" square.
Love that little Temecula box. It was part of a sweet Christmas gift from Sandi (kwiltnkats blog).

The Attic Heirlooms Ornament of the Month will soon be posting #6, and I have barely finished #4.
As I have said before, I am making mine into a little Christmas quilt, rather than individual ornaments.
 Do you get an idea as to why I usually avoid BOM projects? When I start falling behind I get discouraged and often drop out. And believe me, I ALWAYS fall behind. : )


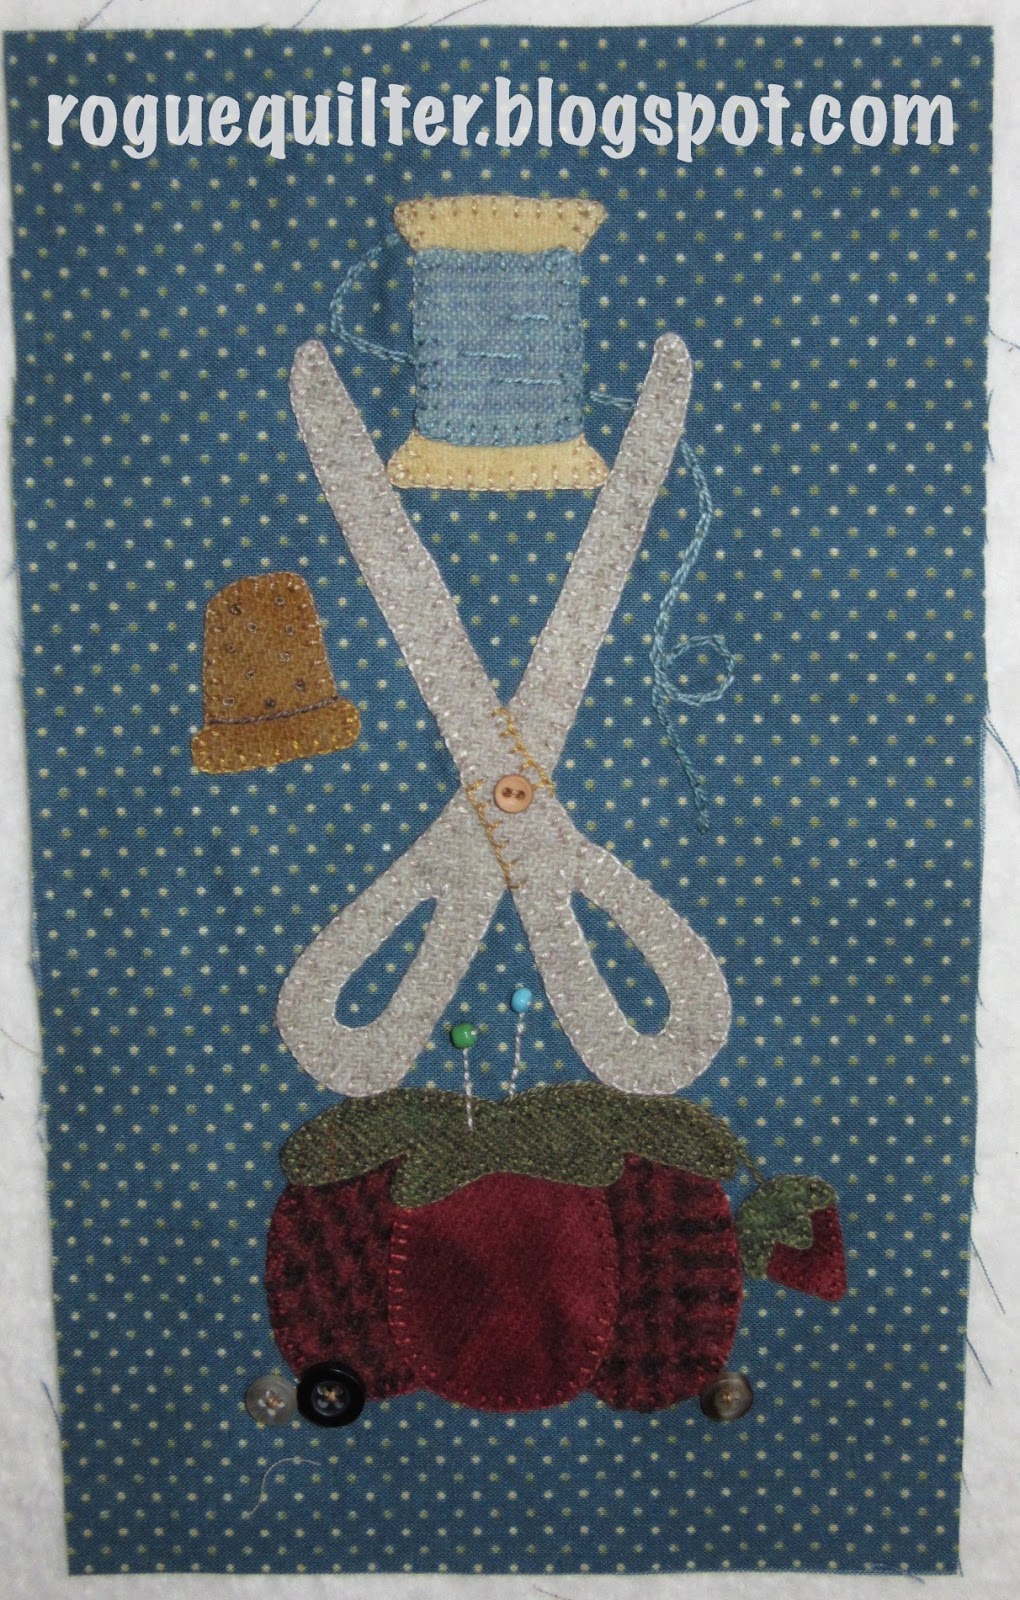
The Buttermilk Basin Mystery BOM just posted block #5, and I just finished #4 on this one, as well.
 I like to add my own little touches to these blocks, when I can think of them. I added the strawberry to the pincushion, the button to the scissors, and stitched a couple of pins onto the cushion, with beads for pin heads.


This shows the four blocks together. I love Stacy's designs and hope I can keep up, or I should say get caught up and stay there. : )


I want to show this tiny ladder I found in a thrift store. I have no idea what it was meant to be, but I brought it home and filled it with little quilts. It sits beside a small trunk where I keep seasonal children's books for the grandkids.
It is just over 2' tall. So fun.


One last thing--May 11th was my 4 year blog anniversary, so I am having a little giveaway for my faithful followers. So many of you have truly become friends and I am enriched by associations with quilters from around the world! When I began this little blog I never dreamed I would become well acquainted with such delightful people, from widely varied backgrounds. My life is definitely better for knowing you!
I've included one item for each year I have been blogging. There is a little 2 1/2" square Creative Grid ruler, Betsy Chutchian's book "Gone to Texas", my little quilt I named "True" that was made from the leftovers of "Faithful", one of Lori's (Humble Quilts blog) little SAL quilts. And finally, the pincushion I made from the double 9-patch block is item #4. Random stuff, I know, and I may tuck in another giftie or two.

The giveaway will be closed at midnight MST on Saturday.
I am flying to NH on Monday to spend a week spoiling new grandbaby #5, so there is a possibility the prize will not be sent out until I return, but I will try to send it Monday before I leave, if the winner gets back to me quickly with their address.
So leave a comment if any of this appeals to you. : )

Giveaway now closed.

Until next time,
Janet O.

Saturday, May 9, 2015

Itty Bitty Eights Rulers put to the test!

By now you surely know that I love making minis, right?
 
So when Lisa Bongean collaborated with Creative Grids to come up with these rulers specifically for making mini quilts I was thrilled!
Left to right, Itty-Bitty Eights 3"x7" and Itty-Bitty Eights 6" (Click for link to order)
Honestly, after finally completing the flimsy for my mini version of Lisa's APQ SAL Burgoyne Surrounded quilt, I was about ready to throw my OmniGrid rulers out the window. I had become so frustrated, trying to cut very precise little pieces with thick lines that were solid in too many places. To top it off, no matter what I apply to the back of my rulers, they slide at the most inconvenient times. And if you put anything on the back that adds any height you are shooting yourself in the foot as far as accurate cutting is concerned.

I had already decided that I was going to be replacing my OmniGrid rulers with Creative Grids when I read Lisa's post here. I couldn't wait to get my hands on the rulers and planned to order them after the next payday. But Lisa beat me to the punch and had a set sent to me so that I could try them and share my experience and opinions. Let me say up front, I am delighted!

Look at the markings--everything is marked clearly, down to every eighth of an inch.
 The lines are narrow and dashed all the way along. So easy to line up on the edge of the fabric or a seam line to get a precise cut.
I finally got play time and have experimented with some of Lisa's own patterns for small quilts.
 Making 1 1/2 inch HSTs and pinwheels, I made a very small version of the Primitive Gatherings pattern "Pinwheel Garden". Excuse the fact that I made my pinwheels rather hurriedly (no pinning), so the centers don't match well, but the photos show how clearly you can see to line up your cuts. Lisa recommends foundation piecing for this quilt, but I used the "make large, cut smaller" technique to give the rulers a good test.
They passed the test so well that I have actually cut HSTs to make the whole quilt in scrappy CW blues and browns.

I decided to give the "Broken Dishes" pattern a try, but this time I thought I'd take it up a notch (or would it be down?) by making the units half the size the pattern indicates. Instead of finishing at 2", those little Broken Dishes blocks finish at 1".
 I got everything cut and then began sewing together the broken dishes blocks.
The ruler markings made squaring up these little blocks so easy. I did not "cut large" on these blocks, but had no trouble coming out with perfect little blocks. You can see I was practically just trimming off fuzz when I squared them.

 
 After completing enough broken dishes for three rows, I decided to stitch those rows together and move on to another test of the rulers.

 Here are the finished three rows up against one of the Itty-Bitty Eight Rulers. I think it is fun to see how much mini quilts shrink when sewn together.

Next I wanted to test how well things would come together when using one of the less common measurements. I pulled out some thrift store shirt scraps and decided to pretend that the scraps were only 7/8", so I would need to make my cuts accordingly.
 I got lazy about taking photos during this process. Above you see the cut squares compared to my rotary cutter. Below you see the basket in my hand. It will finish at 1 3/4". The 7/8" markings were not hard to work with at all.

I did try one other project, but took no photos of the process. When I made  my mini Burgoyne Surrounded, the most maddening thing in the whole process was the little 9-patch blocks that finish at 3/4". I was having such a hard time getting good results with the OmniGrid rulers, so I had to try a few tiny 9-patch blocks with these rulers. You can see the little double 9-patch block at the bottom of this photo. It isn't laying flat so it looks wonky, but I was really pleased with how well the 9-patches turned out. That block will finish at 2 1/4".
This photo shows all of my "test projects" together, with the rulers. I haven't had much sewing time lately, so this has taken longer than I care to admit. But I can't wait to finish up the broken dishes, and tackle my CW blue & brown version of the pinwheel quilt.

I can highly recommend the Itty-Bitty Eights to anyone who makes minis, or even those of you who make larger quilts that have many smaller parts in the construction. The 6" square is probably the one I used the most, but when I was making the 9-patch blocks by sewing strips, the 3"x7" was very handy. My only wish was that the 3"x7" would have had more markings across the width of the ruler, as the square does. Other than that, no complaints. The textured dots and edges held onto the fabric well. It wasn't until I was writing this post that I realized I hadn't had any slipping problems with any of these projects. Many thanks to Lisa and Creative Grids for a job well done!

Next week is the 4th anniversary of my blog. I'll have to celebrate somehow. : )
Until then,
Janet O.

Friday, May 1, 2015

Not your mother's baby quilts!

Got these sent off Tuesday and they are hopefully now at their new home in NH.
I mentioned that DD#1 didn't want typical baby quilts. These qualify, don't you think? And what fun they were to make!
My top two favorite fabric styles are Civil War reproductions and batiks, so you know I enjoyed these. Third on my list would be thrift store shirts, so I think my next baby quilt will come from that stash.

I wasn't going to put feathers on a baby quilt, but those setting triangles just called out to me, "practice your feathers!!". And believe me, I needed the practice. I draw the curve for the spine of the feather and then work my way up one side of the spine, stitching along the line as I come back down to start up the other side
 I get the quilt "puddled" around the triangle that I will be stitching, and then I get into the flow of the feathering. It is fun, even when I am rusty and have several glitches along the way. I did not unpick (my apologies to the new grandbaby).

 This is what resulted. I realize the final border wasn't stitched when I took this photo, but that's okay, because it wasn't that great. : )

These were April's blocks for those things I don't do. (BB BOM and Attic Heirlooms OOM)
Have only got them fused. May get to the stitching during the MLS soccer game on TV tonight. : ) The snowlady doesn't look like much without all of the stitched details. That will be a basket of flowers in her twiggy hands, and she will be wearing a floral wreath on her chilly brow. If you are doing the BB BOM you may notice that I added a strawberry to my tomato pincushion. Just felt right.

If you follow this blog because you like mini quilts, then you will want to stay tuned. Recently Lisa Bongean of Primitive Gatherings introduced the results of a collaboration with Creative Grids. These rulers are expressly made to meet the needs of the mini maker. They can be ordered here (6x6) and here (3x7).
See all of the thin, little dashed lines in small increments, and the measurements written along the edges? And they have the textured surface along the bottom edges to grip the fabric.  I have been playing with them and in my next post I will be sharing my experiences and giving a thorough review. Believe me, I am thrilled! Thank you, Lisa--somebody needed to do this!!

I'll leave you with another shot of the Sandhill Crane that has been wandering a field to the north of us the past few days. Isn't he a handsome fellow, standing there in the dandelion peppered alfalfa? Don't know if he lost his mate or if he hasn't had one yet, but he looks lonely.

Oh, I forgot to mention that this month marks the 4th anniversary of my blog. One of these days a giveaway will probably surface.

Until next time,
Janet O.