Thursday, October 30, 2014

It's about time!!

This was only my March UFO.  I made the final border really large, but may trim it down. I want enough space in case I choose to do swirly feathers. It isn't a top that I think needs feathers, but I want to practice them, so I figured it would do. Then it will be bound with the black polka dots fabric in the sashing. I haven't measured this since I put the borders on today (finally!!!), but it appears to be exactly 80-something by 90-something. : ) I had to put it on my design wall sideways.
My year of the UFO has been an abysmal failure! My goal was that by now I would have 7 UFOs to flimsy stage. I wasn't even expecting to finish one a month. I cut myself some slack for the summer months and the holidays at year's end, and gave myself one "bye" month just in case. Little did I know.

When I was asked, back in March, to do the mini quilt trunk show in May, I became laser focused on minis and have had a hard time disengaging from that mode. What can I say? I'm hooked! So here is the news from the mini front.

My "Fall" Lamb for All Seasons (not to be confused with the Halloween LFAS which you can see in the post linked here) is now ready to go up on the wall as soon as October is history.                                                             If you are new to the blog, this is part of a series of seasonal little quilts I have been making using the free Primitive Gatherings "Old Glory Gatherings" pattern.

Next up is what I am calling Cherry Chocolate Churndash. This was a copy of a quilt made by Kathie Holland (inspiredbyantiquequilts blog). I admired hers and she offered me fabrics to make one like it. The churndash blocks finish at 3".
I am really smitten with it. You can't see the quilting very well from the front.
 This back view gives you a better idea. Recently Mary, (quilthollow blog) described how to get a good photo of quilting designs, and I concur. It is how I take my photos of quilting, too. In the morning I lay my quilt in front of an East facing window and let the natural light spill across the surface. The shadows accent the quilted pattern. Then I take the photo WITHOUT a flash.


I think the quilt is very happy in its new home on this table in my bedroom. Love the colors, the fabrics, and the pattern! Thanks so much, Kathie!


Another nod to Kathie for the fun blocks shown here.


These windmill blocks finish at 4" and are made using one of the little templates found in this set from Baycreek Quilting. I lifted this photo from their website. Kathie had recently made a little quilt from these blocks and provided the link to order the templates.
You can order them from Baycreek Quilting here.  You get this entire set, with shipping, for under $10.


I am using this for my current leader/ender project. I don't know how large I will go with this. Right now I have just cut a bunch of reds, blues, and blacks from my scrap basket. I'll see where I am when I have used these up and decide whether or not to cut more.

We've had some gorgeous sunrises lately. A few days ago I told some of you I had run outside in my pjs and scampered across my frosty lawn, barefoot, to get to the corner of my yard for this shot without any power lines in it. I think it was worth it. : )
Until next time,
Janet O.


Tuesday, October 21, 2014

Meeting some goals!

Okay, so they are last week's goals (or last month's), but at least I am meeting them!
 I'm finally caught up on the Primitive Gatherings 10th Anniversary SAL (click on link on her sidebar). I think the next installment will be coming soon, so it was a relief to get the last wool pieces stitched down on this.


"Tiny Nines" is a finish! I machine quilted the center in a simple crosshatch and hand quilted a narrow cable in the border. This finishes at 7" square. The 9-patches finish at 3/4".

 My tiniest ornaments ever are completed (not as tiny as Raewyn's!). The Disappearing Pinwheel blocks finish at 1 1/2", and with the 1/4" border all around, they finish at 2". The ornaments I usually make are 2" before the border, so they finish at 2 1/2". You can see the basket ornie hanging between them in the photo below. Just a bit bigger.

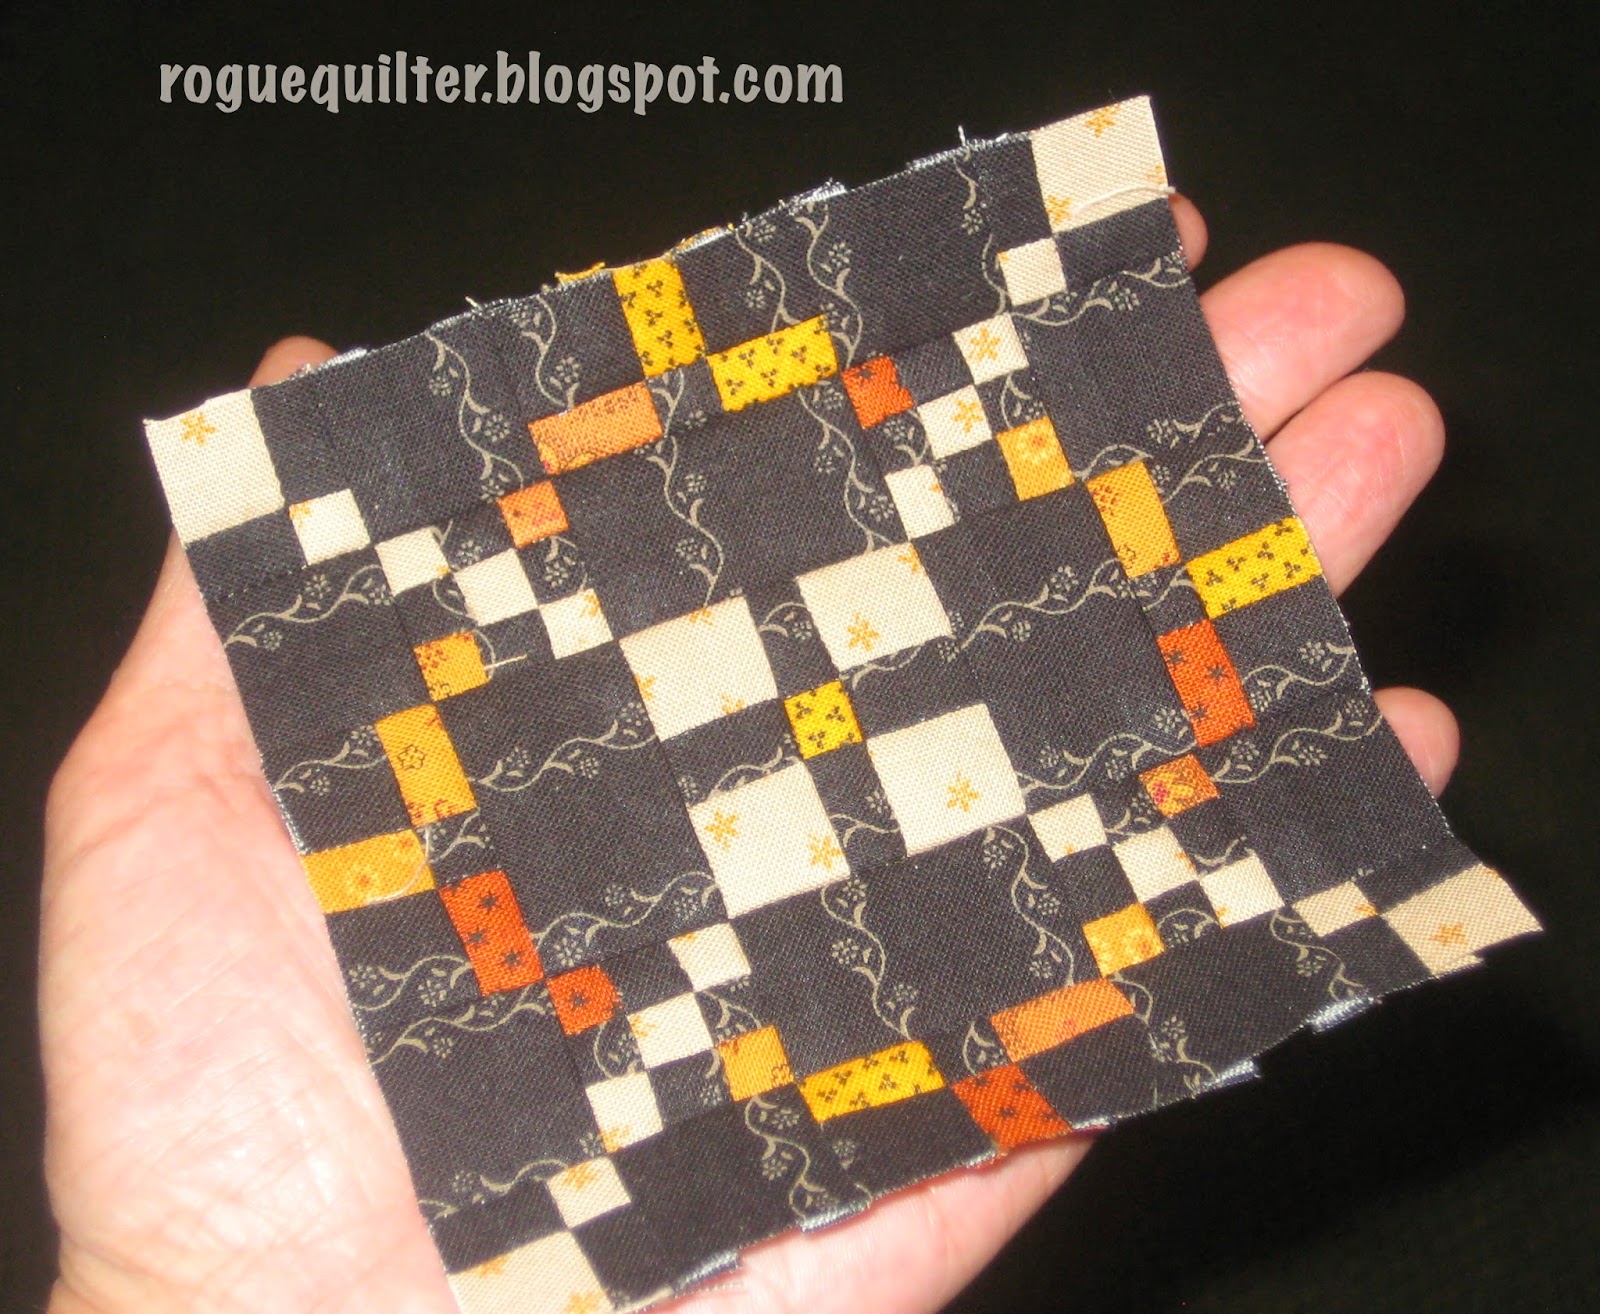
Two more Burgoyne Surrounded blocks have been assembled (that one on the top right would not lay flat--even with that miracle product, Best Press). These blocks are inspired by Lisa Bongean's quilt shown here.
 I have the strips cut to make several more--I plan to make twelve of them. But it takes great concentration on my part to assemble them correctly, and I don't often have the power to think that hard by the time I get to sit down and sew in the evening. Since I am making the golds/oranges scrappy, and the blacks are consistent through each block, I can't just strip piece everything. It is slow going.
Once I have the units for each block made and can lay them out, it is fun to see how much they shrink during assembly. I had mistakenly told some of you that these blocks have over 100 pieces. I must have been half awake when I counted them (that is no surprise), because they each contain 97 pieces, and they finish at 3 3/4".
I've shared this photo before, but it gives you a good size perspective.

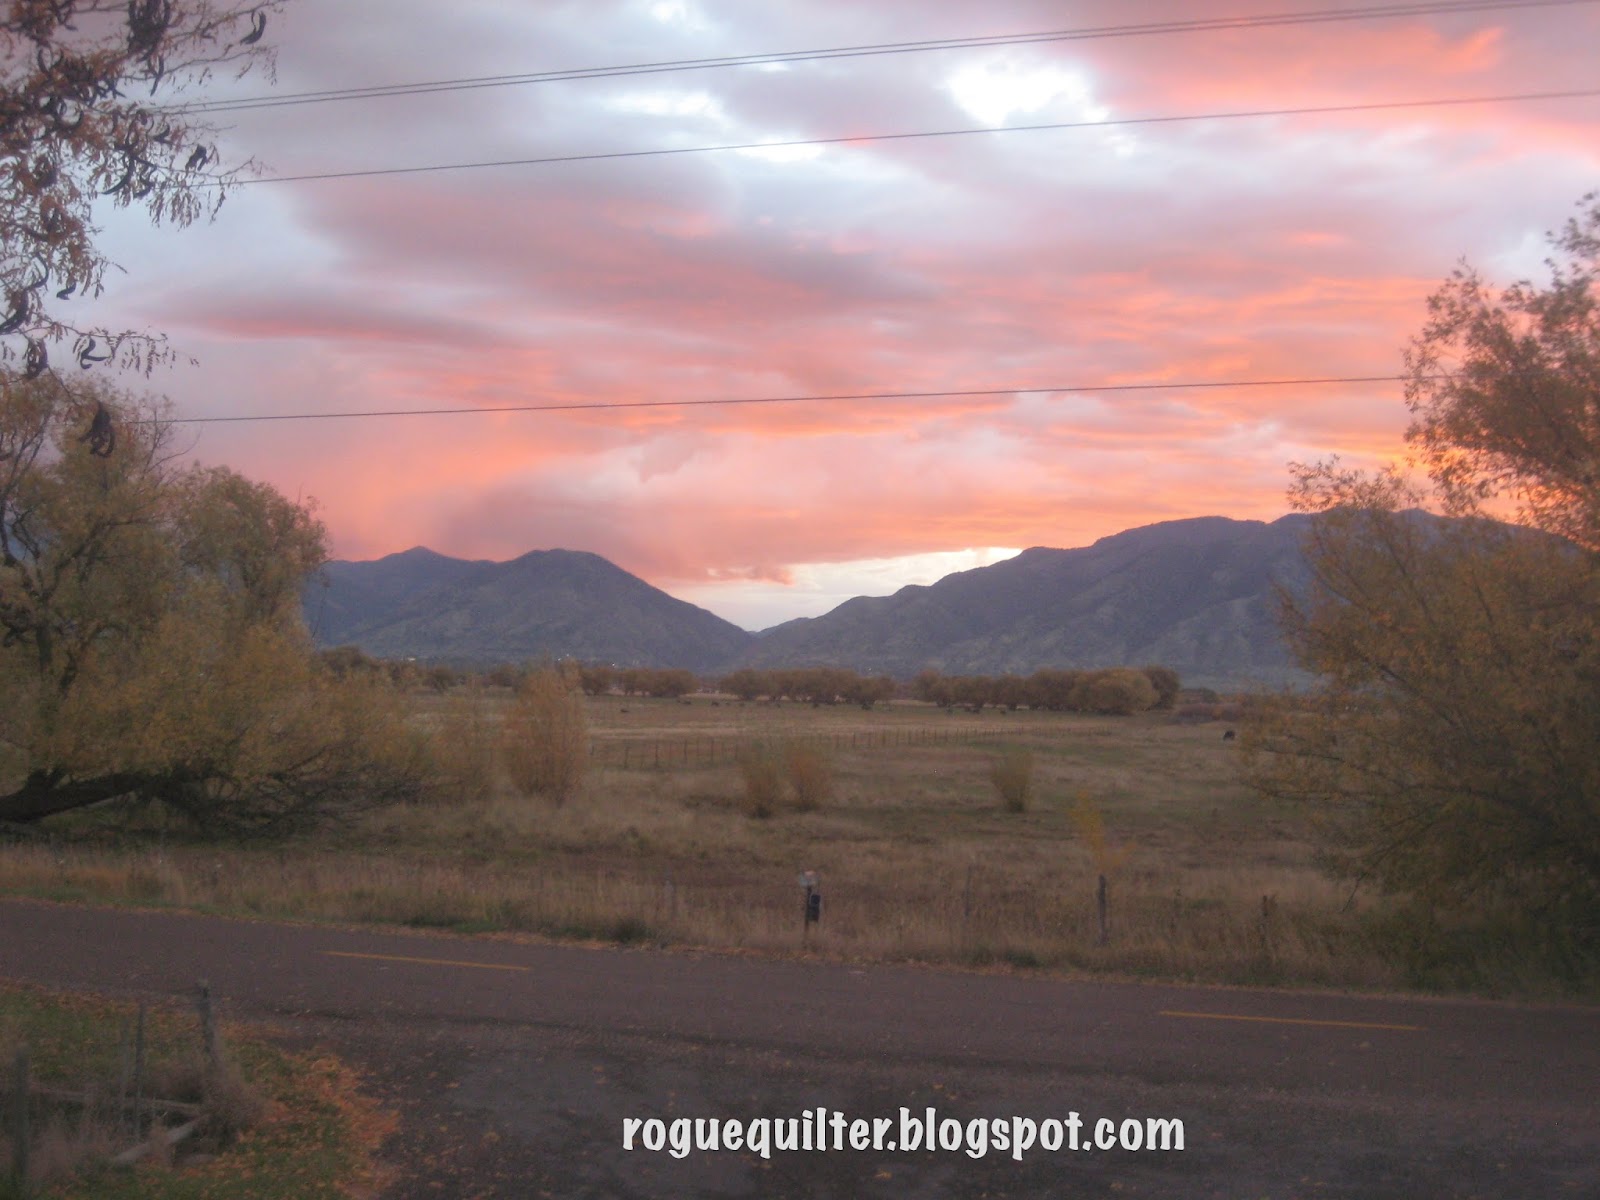
A week or so ago we had an amazing sunrise, and I missed it because I had blinds and curtains closed to keep out the cold morning air. Now I check to see what the sky looks like and this morning I caught this.
Sorry about the power lines, but it was rainy (doesn't look like a sky like that could be raining), windy and cold, so I wasn't going to run downstairs and out on the road to get the shot without the power lines. Some days I would, but not today. Besides, color like this is fleeting, and by the time I got out there, it could have been gone. It was gone within minutes, for that matter.
So I will enjoy the view with the power lines and be grateful that I have electricity on this cold, wet morning!

Until next time,
Janet O.


Friday, October 17, 2014

I don't know If I can do it justice.


But I'll try! You would never believe how these quilts are made! I'll try to explain with photos.On Wednesday I went to My Girlfriend's Quilt Shoppe to see a trunk show by Carmen Geddes.
She makes traditional quilts using very modern methods.

Using this printed, fusible interfacing product from Quiltsmart,
you cut your fabric pieces and fuse them to the interfacing panels, between the positioning lines. Then you fold the interfacing along the fold lines and sew along the stitch lines.
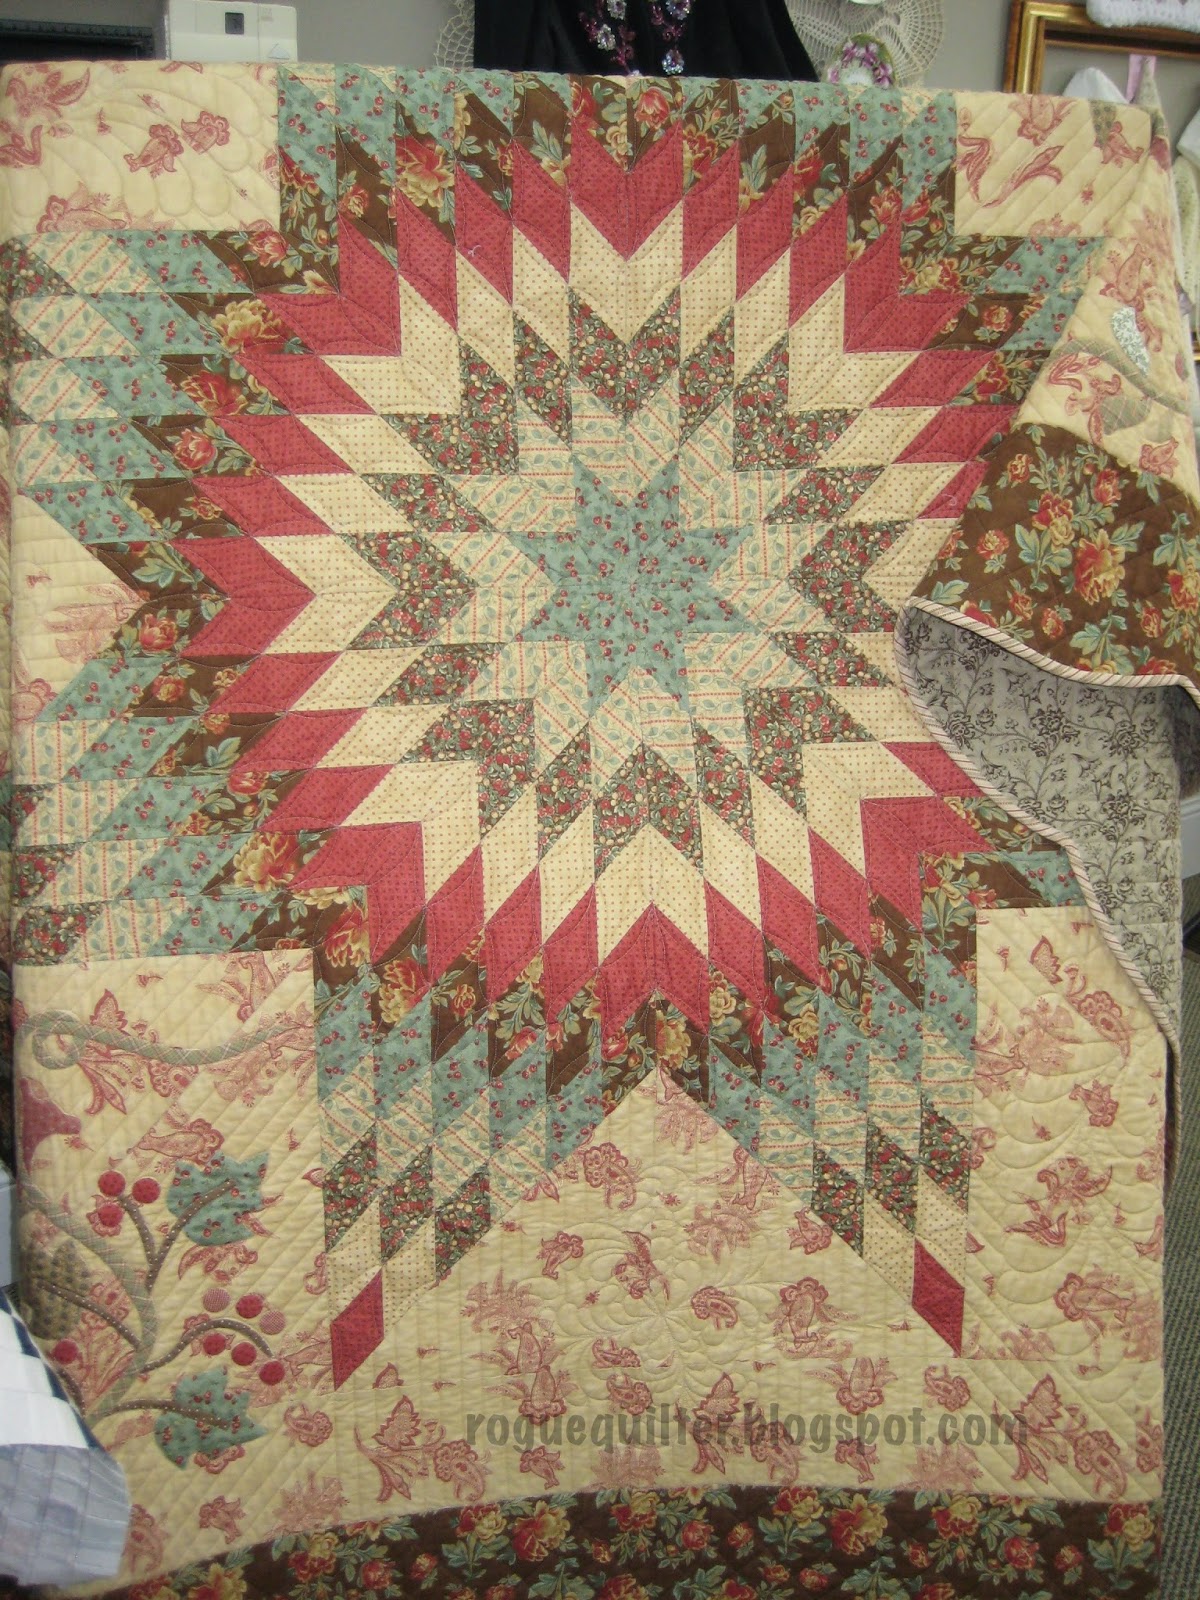
This photo shows the panel after the vertical seams have all been sewn, but the horizontal seams have not. This is a panel for a quilt like the one in the top photo.
You can check out her YouTube video of this method here. (See the video on the bottom of the page.)
Here is another quilt top from the same panels, just different fabrics.
 Since this was just a top, we got to see what the back looks like.
 The interfacing is sturdy enough to keep the quilt square, but soft enough that the finished product is not stiff. Here is another quilt made from these same panels.

 Guess what--there are even panels for mini quilts! : )
But it isn't all just square stuff. Take a gander at these beauties--all still made by fusing your cut pieces to the printed interfacing, and folding and stitching. Click to enlarge any photos.


Then there are the quilts with all those curved or Y-seams. There are printed shapes on the interfacing that you cut out and sew "rough to right" sides together. You slit the interfacing and turn the fabric right side out. Now your shape has a finished edge and a fusible back. You fuse it in place and use invisible machine applique (or decorative stitches, if you prefer) to secure it. The quilts below were all made using this method, or a combination of the two methods.


Apple Core--back

Apple Core--front


DWR--front
DWR--back


This was Carmen's backdrop showing quilts using a variety of the techniques.

When the show was finished, Kris, the shop owner, gave us the opportunity to try a small sample piece. Kits were ready and waiting--no charge--and they had a few machines set up for us to use.

 This was the sample--it would make a great hot pad.

We followed step by step instructions to make our own leaf using the printed fusible interfacing. Due to a goof creative cutting, my leaf is cream, instead of yellow.


I had been intrigued by the method, but hadn't expected to be so impressed. I came home with the pattern for the small Lone Star blocks. They didn't have any of the mini square interfacing on hand, or you know I would have picked up some of that, as well! : )


Well, I feel my words and photos have been inadequate in conveying what I experienced, but I tried. Carmen was a delightful presenter. She is an experienced teacher, very knowledgeable, with a fun sense of humor.
It was a very fascinating 3 hours. Well worth the time and the price didn't reflect the value of the event (cost was only $5 and we received a $10 coupon to the shop that could be used that day). They always have a Wednesday special, and it happened that if you spent $25 or more on this Wednesday, you got a free copy of one of the MSQC Block magazines. It really was a good day to be at My Girlfriend's Quilt Shoppe!

Sunday, October 12, 2014

Quilting (Quietly) with Kim

I spent Friday in Rupert, Idaho where my favorite not-so-local quilt shop, The Gathering Place, hosted a workshop with Kim Diehl.
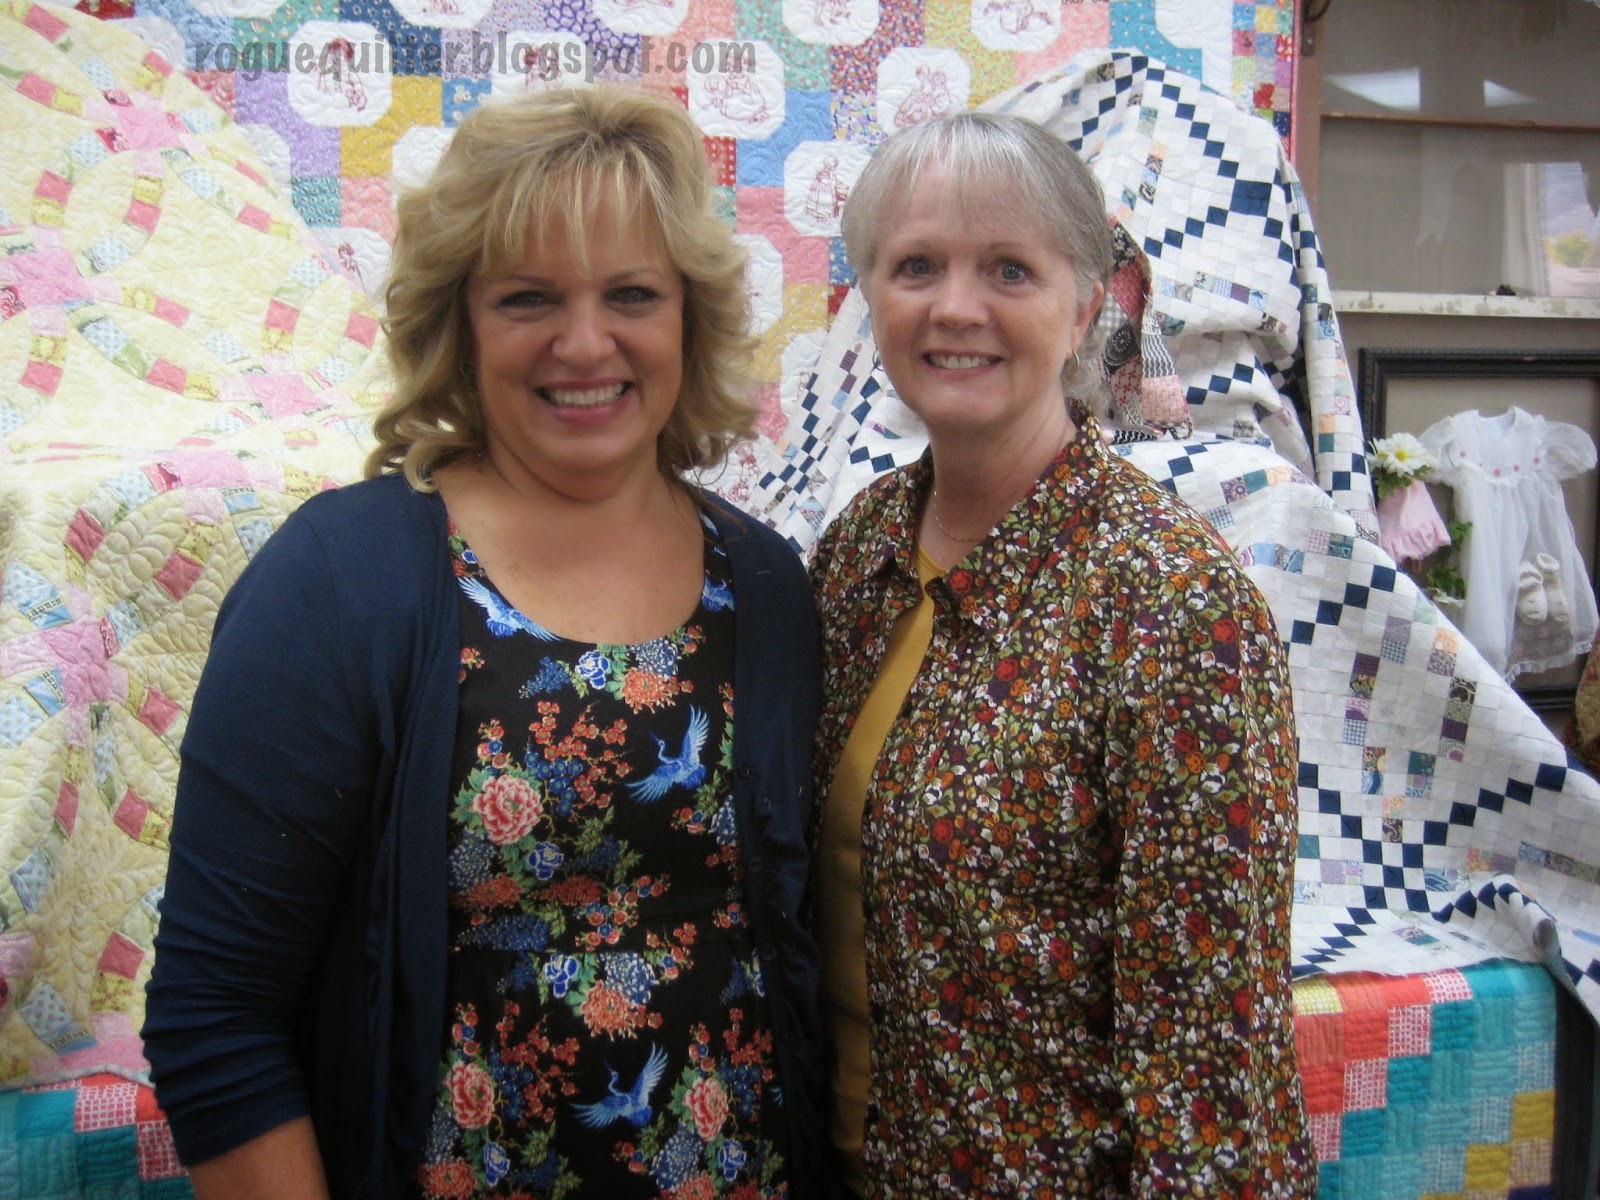
Kim was gracious enough to pose for me in the display of her stuff at the store.
  This was what we worked on. Most of the class time was spent making the Dresden and learning her invisible machine applique technique to attach it to the background. The last 30 minutes of class she demoed her wool applique method and we could quickly try it on a wool penny to see if we had any questions.
This is Dresden Dish Garden. Pattern currently only available at workshops.
There were around 20 women in the class, and they were a focused bunch. This was the quietest group of quilters I have ever heard (or not heard)! There was much of the time that no one was talking at all, we were all concentrating so much on the work at hand. Can you imagine that--quilters not talking?
With all of that focused work, you'd think we would have accomplished an awful lot, but this is as far as I got before it was time to pack up and come home.
I'm auditioning wools to put the smaller penny in the middle.
 Kim is an excellent teacher, and I highly recommend her. She will be going along with Bonnie Hunter on her upcoming Caribbean cruise in November to teach a wool project. She is booked to teach through the end of next year and then she says she isn't planning on traveling to teach anymore. She will focus on her books and fabric lines. So if you have a chance to take a class from her, you might want to grab it while you can.


I was not able to do her Saturday class, but this is what they were going to be working on. I believe she said it is from her Simple Whatnots Club.


This was something she had prepared for an upcoming class. It is very small, and she finished it with Big Stitch quilting. So cute.


This was what she taught at this workshop last year. This gal brought it back to show Kim and get some ideas on how to quilt it. It is very pretty. I love the darker backgrounds.


Other than this class, I haven't had much time to stitch since my last post. These are the projects that got a bit of attention during the week. My Fall themed "Lamb For All Seasons" is all cut and ready to fuse.
 And I have almost completed all of the square-in-a-square units I need in order to make the 6th border on my Primitive Gatherings Tenth Anniversary SAL project.
Once this border is completed and attached, there will be little wool applique flowers in the corners. This has been a really fun piece to work on. I have enjoyed the leisurely pace, and I always love Lisa's designs.We are supposed to be finished sometime in November, and I am really curious to see where Lisa takes us from here.

This week Carmen Geddes is coming to a LQS to share her technique for making traditional quilt patterns using her Easy Piecing Grid. The idea intrigues me. I've watched a couple of Youtube videos, but I am curious to see how it looks in real life, and since the fee was only $5, I figured it was worth seeing. I'll let you know what I learn.

Until next time,
Janet O.