Thursday, February 27, 2014

What I am learning.

Finally getting some little quilts off the "to be quilted" list! Been home sick all week and I have been learning (or reminded) that I don't "rest & recuperate" very well. I have to be "doing."
As I quilted this I realized how "pointless" that upper left basket is.
What was I thinking?
 Two years ago this Saturday, Temecula Quilt Co. began their Blessings Basket SAL.  I went out of control and made 4 of them, pictured below on my design wall in their flimsy stage.
Since this time I have been learning to live without
making every Temecula SAL that comes out.
This is the third one I have quilted--only the batik remains.

Something else I've been learning is curved cross-hatching. This was my first attempt on anything other than a practice piece. Can you see it in the dark blue setting triangles?
 There is a lot of backtrack or overstitching to this process and my skills in that area are not up to speed. I show you this photo of the back so that you can see the cross-hatching better, but you can also see my mess of threads in many places.
Another thing I have learned as I have quilted this week--I still think like a hand quilter. I tend to want to do stitch-in-the-ditch through the pieced areas and fill the large, solid areas with simple designs. I know that is not how everyone hand quilts, but that was my M.O.

It shows on the other two pieces I have done this week. "True", my little companion quilt to "Faithful", from one of Lori's SALs, was also completed. The quilting doesn't show here, but it is entirely straight line stuff around the piecing and a spiky design in the border.


The other piece I have quilted this week is another example of my hand quilting mentality. I have named this one "Poor Lil' Punky Loves Pineapple". The pumpkin design in the center is from Julie Letvin's Poor Lil' Punky pincushion pattern (and, of course, I made 4 of those, too). I did SITD around the black parts of each pineapple block and around Punky and his features, and put cross-hatching in the rail blocks. It is ready to bind and I hope to get to that today.
 It is hard to see the quilting design on the back but I like the way Punky's gold threads shine there. : )

I have one more little quilt basted and I am going to force myself to try an all-over design on it. This may be difficult!

My Little Quilts corner has had some recent additions, thanks to Julie and Michelle. Most of the quilts to the left of the corner were made by blog friends, five of which were AAQI quilts . So glad I was able to support the cause and have the work of friends in the bargain. On the other side of my quilting room I have a couple of pillows, a wall quilt, pincushions, and some ornaments by friends. Blogging has certainly provided me with the quilting community I lacked. Since blogging is my only computer vice--no Facebook, Instagram, gaming, and though I Pin, I don't browse Pinterest--for now, I am happy to keep blogging. I am just learning that I can't start everything I see on blogs, that I love. Some lessons are learned the hard way. : )

Until next time,
Janet O.

Saturday, February 22, 2014

Long time coming!

This quilt has been on my design wall for about 4 months now and it is finally all sewn together! Here we have "It's So Vermonty"in flimsy form.
This is based on Bonnie Hunter's Crabapples pattern from the book Adventures with Leaders and Enders. I've mentioned before that I wanted it to be bigger than the pattern so that we could use it on our bed. I made the 25 trees as the pattern indicated and then added setting squares between them to create extra rows. I simplified the borders, too, to keep the focus on the trees in the center (and to make it faster to finish).                                                          
I was trying to capture the feeling of dense Fall foliage, and I am pretty happy with the results.
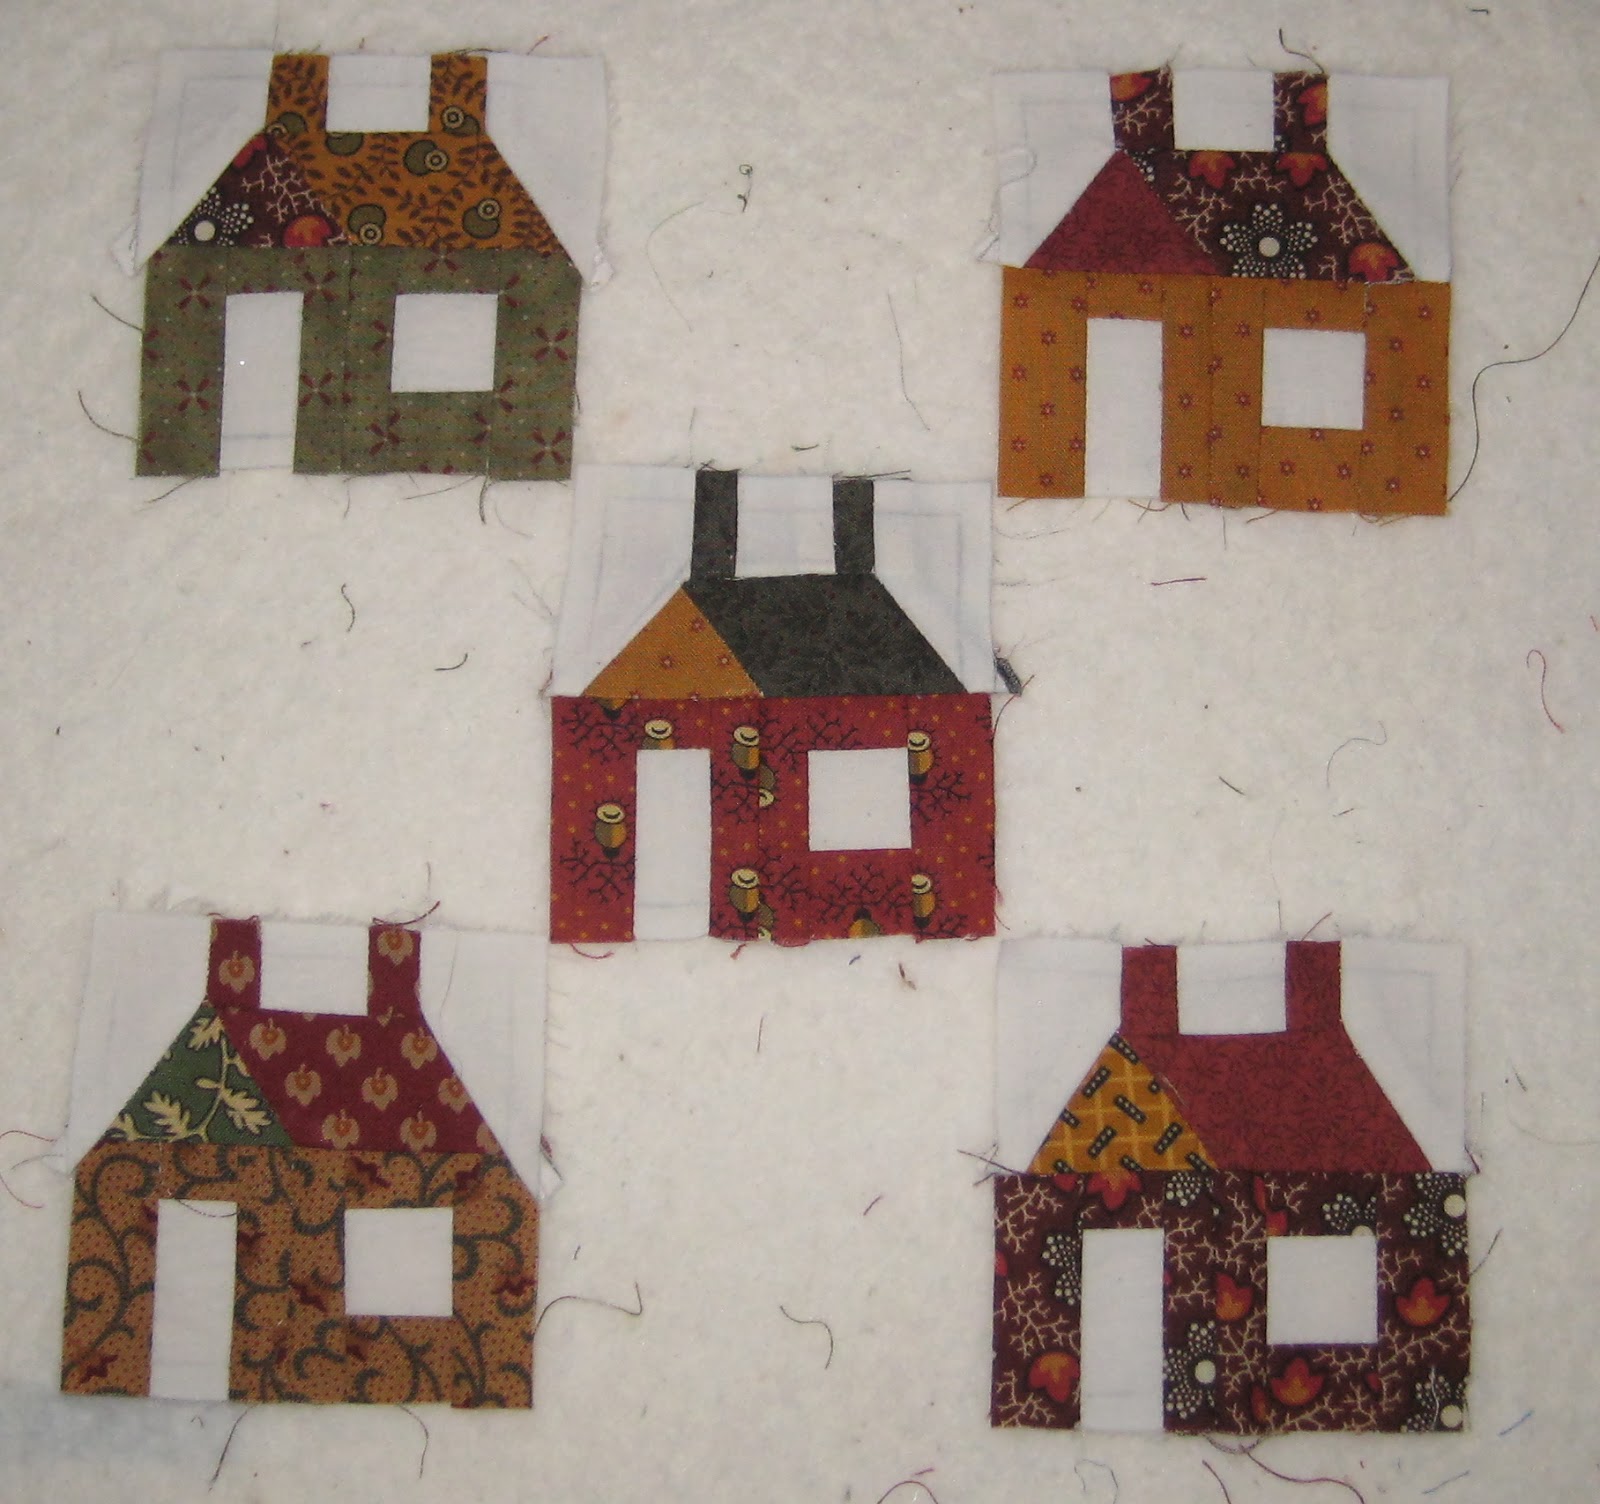
While watching the Olympics I haven't done as much stitching as I usually do during TV time--I get too caught up in the action! But I have stitched up one more little house (Building Houses From Scraps) and have about half of another. This is usually my travel project, but it was handy to grab, and needed no prep work, so I made an exception.


Speaking of the Olympics, I have enjoyed seeing the Matryoshka Dolls--especially the huge one on the Slope Style venue. I have been a long time collector of nesting dolls, starting my collection before the break-up of the Soviet Union, when exported dolls were mass produced and very regional.

Over the years I have given several dolls away, feeling like my collection was getting out of hand. I haven't bought any for a few years, but I did purchase a bobble head nesting doll Sochi Olympics pin this month. Here is my current collection of dolls.

My biggest doll is about 10" high and the smallest is 2 1/2".  Here they are, side by side.


The large doll is a set of 20, the smaller doll is a set of 10. You can click the photos to enlarge and see details.


After the Soviet Union dissolved it became easier to find beautifully painted dolls. These are a couple of my favorites, front and back.

This doll isn't the tallest, but it contains the most dolls. There is a total of 30, with the smallest one being smaller than a grain of rice. Can you see it at the bottom of the doll to the far right?
 This picture gives you some perspective--those are the smallest dolls from the three full sets displayed above. The tiny one in the middle is from the set of 30.

Haven't had much sewing time lately, but it feels so good to finally have an empty design wall for a minute. I think I will pull out something that only needs a border and see if I can get it done in less than 4 months! : )

Until next time,
Janet O.

Sunday, February 9, 2014

Midwinter Blues Flimsy

From Lori's most recent SAL at Humble Quilts blog.
This finish presented a small challenge for me. I found what I thought was the perfect fabric for the sashing. From this fabric in the Barbara Brackman Battle Hymn collection, I fussy-cut the blue stripes.
 They were exactly the width needed, but the small piece in my scraps only yielded 13 sashings and I needed 16. I told Lori I was trying to decide whether to search for more fabric, or just settle for something else.
Her "Humble Quilt" philosophy brought me down to earth. "Find something close," she said, "and make it work."  Though I love "make-do" quilts, my obsessive nature makes it difficult for me to make them. Well, Lori, I did it--kind of! I couldn't just make three sashing pieces different from the rest. It would have kept me up nights. I had to make it symmetrical, so the 4 corner sashing pieces were from a similar colored blue. Anyone need one piece of leftover striped sashing? : )
Thanks for another fun SAL, Lori!!

Until next time, Janet O.

(Don't anyone go into shock over the length of this post.)

Wednesday, February 5, 2014

Ornies Abound!

When I made the teeny pineapple ornaments for DD#2's fundraiser, there were some who had to  patiently wait until January to receive them. I lined them up to display on my little Shaker peg rack before sending them off.

Oh, wait. There are a couple more.

 It may seem hard to believe now, but my first foray into the world of 2" ornaments was actually in the form of baskets. I blame credit Carol (Brown Quilts blog) for its beginnings. She encouraged me to make tiny baskets for the cornerstones on a make-do basket quilt where I had run out of border fabrics. After making the four baskets for the cornerstones, seen here, I used some leftover HSTs to create a couple more little baskets, not really being sure what to do with them. Finally I just made little pillows and put a loop on them to create a small ornament. This was my first one.

I made a few more as gifts, but then the pineapples took over, and I didn't look back--until last month. A comment by a friend about wanting to make a basket quilt someday gave me the idea that I should make a basket ornament for her upcoming birthday. I had forgotten how fun they are to make. I stitched up a few more last week. These are not foundation pieced and sometimes I am not happy with the results (those two are hanging on my little sewing room tree--they didn't get to pose for photos).  : )

I can make blocks larger than 2", however, and to prove it I offer this.
The 10" block above was shared Tuesday in a tutorial by Nancy (Blogging Near Philadelphia). She wanted someone to try it out and see if everything worked. I love this block, which she calls Polar Vortex, so I was anxious to give it a go. Everything checks out just great! Nice job, Nancy.
I think mine looks more like a Tropical Vortex. I see more of these in my future. : )

My deepest thanks for all of the concern and prayers for my family members facing difficult health issues. Know that your kind words and faith are appreciated!

Until next time,
Janet O.