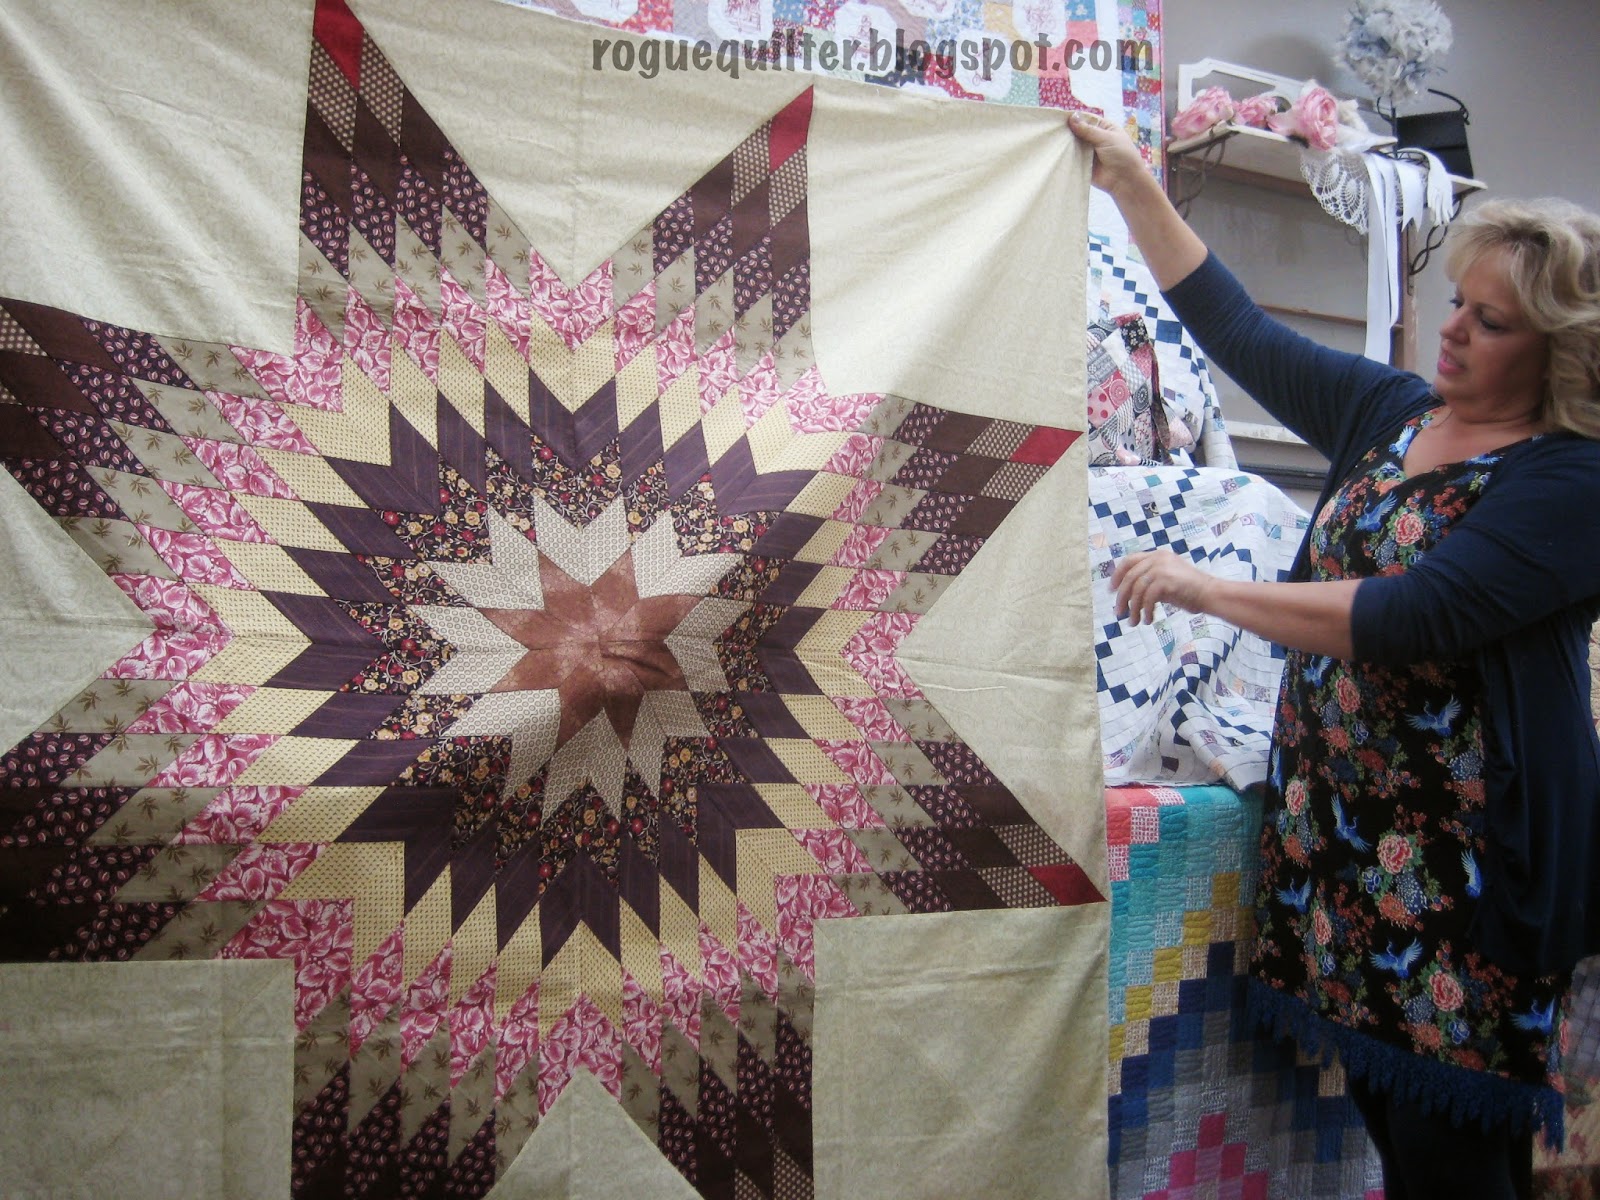
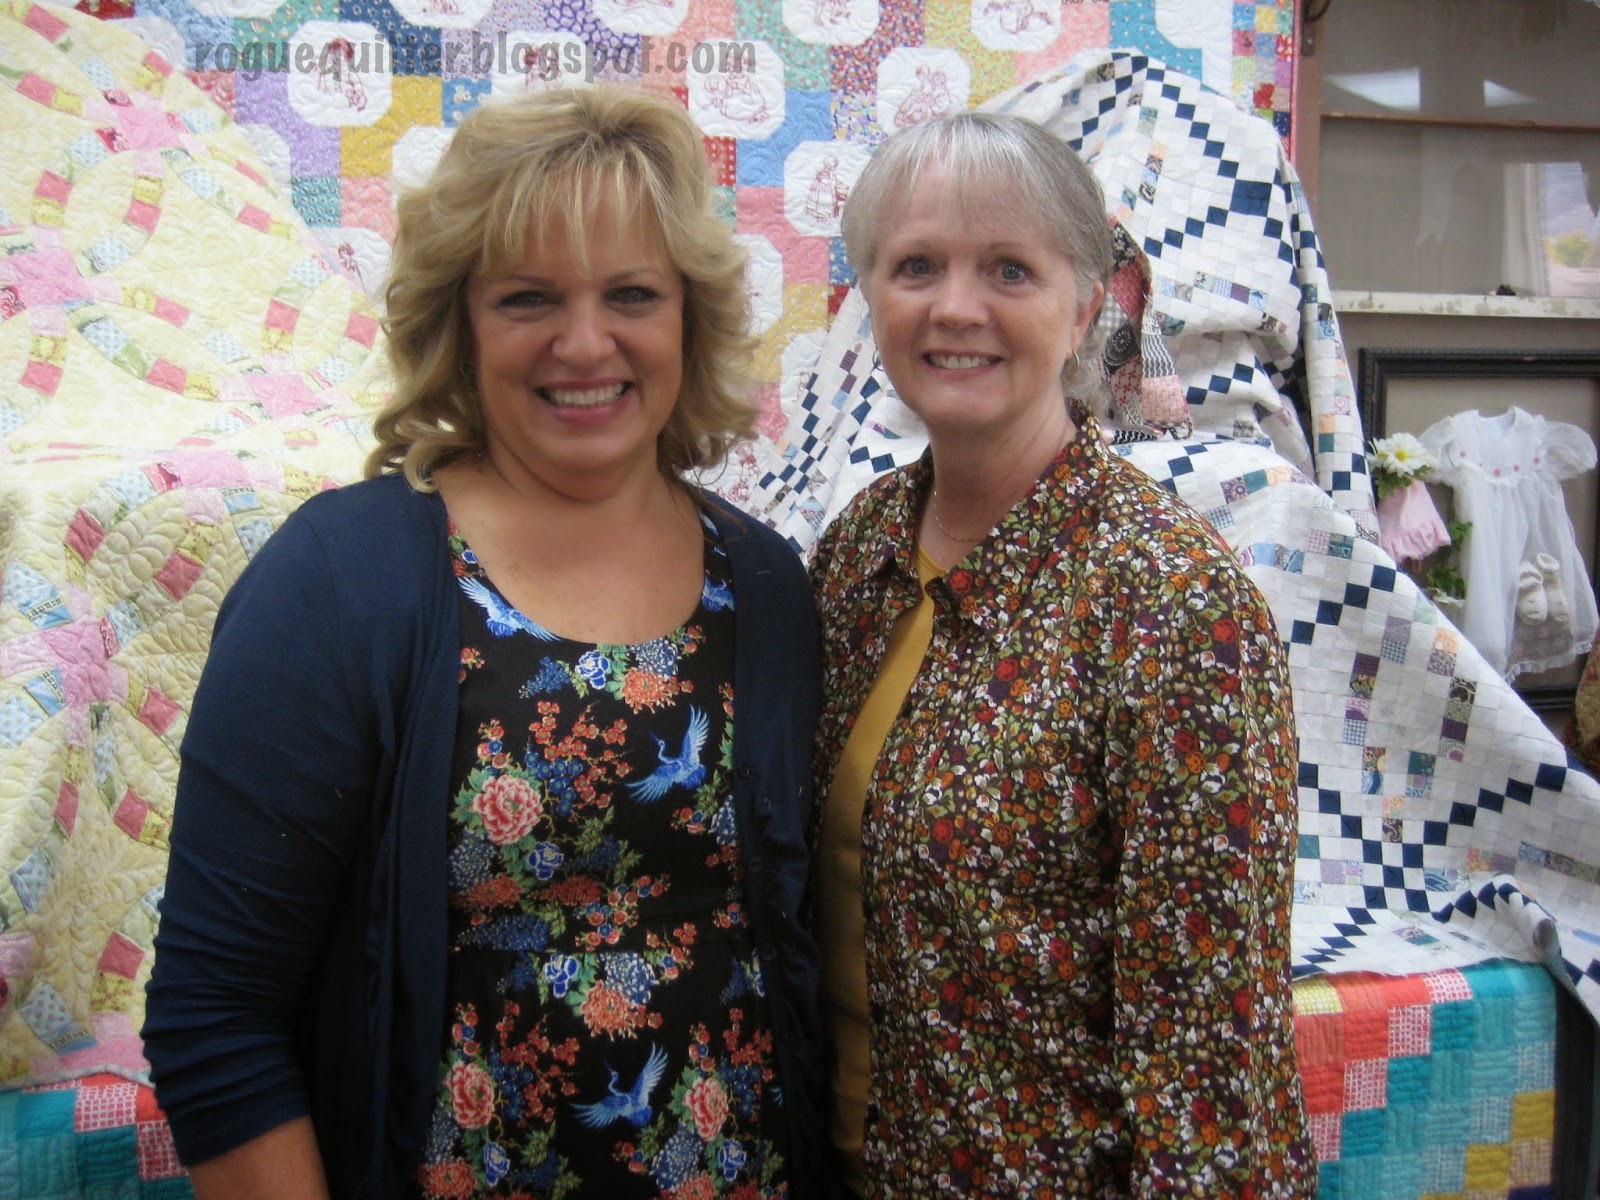
But I'll try! You would never believe how these quilts are made! I'll try to explain with photos.On Wednesday I went to My Girlfriend's Quilt Shoppe to see a trunk show by Carmen Geddes.
She makes traditional quilts using very modern methods.
Using this printed, fusible interfacing product from Quiltsmart,
you cut your fabric pieces and fuse them to the interfacing panels, between the positioning lines. Then you fold the interfacing along the fold lines and sew along the stitch lines.
This photo shows the panel after the vertical seams have all been sewn, but the horizontal seams have not. This is a panel for a quilt like the one in the top photo.
You can check out her YouTube video of this method here. (See the video on the bottom of the page.)
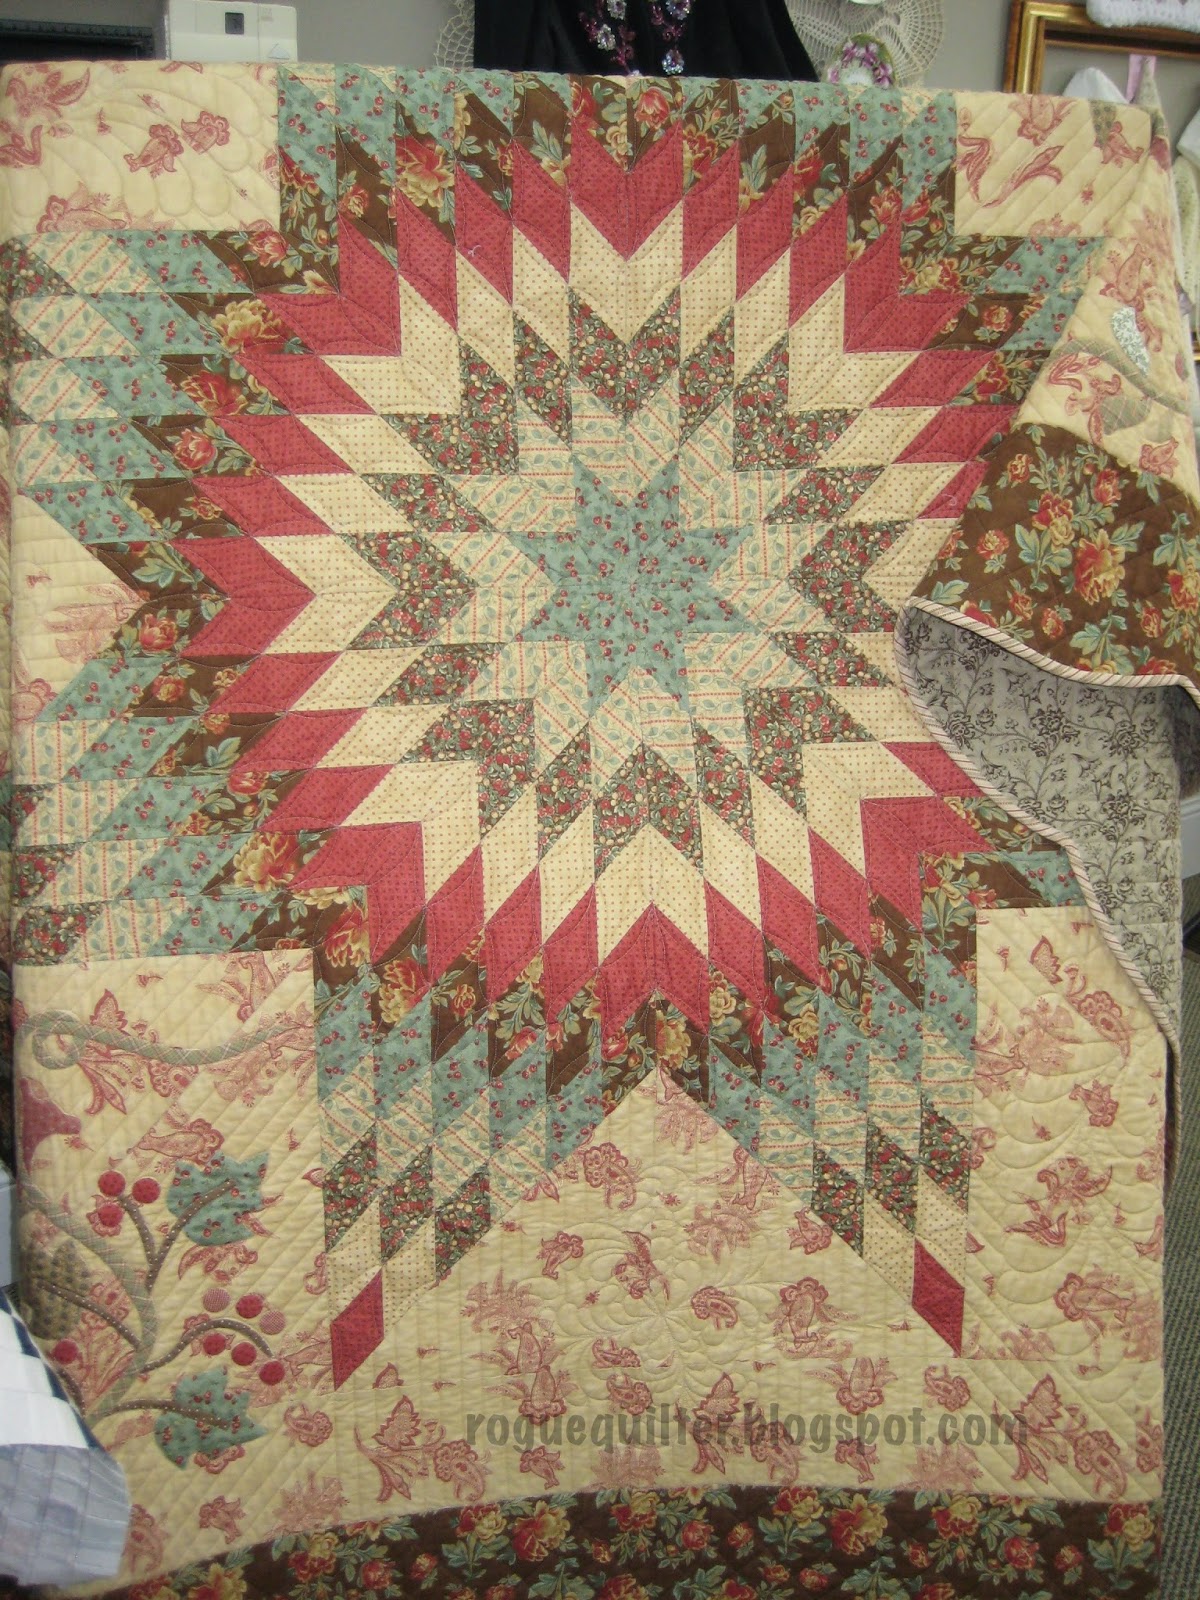
Here is another quilt top from the same panels, just different fabrics.
Since this was just a top, we got to see what the back looks like.
The interfacing is sturdy enough to keep the quilt square, but soft enough that the finished product is not stiff. Here is another quilt made from these same panels.
But it isn't all just square stuff. Take a gander at these beauties--all still made by fusing your cut pieces to the printed interfacing, and folding and stitching. Click to enlarge any photos.


 |
| Apple Core--back |
 |
| Apple Core--front |
 |
| DWR--front |
 |
| DWR--back |
This was Carmen's backdrop showing quilts using a variety of the techniques.
When the show was finished, Kris, the shop owner, gave us the opportunity to try a small sample piece. Kits were ready and waiting--no charge--and they had a few machines set up for us to use.
This was the sample--it would make a great hot pad.
We followed step by step instructions to make our own leaf using the printed fusible interfacing. Due to
I had been intrigued by the method, but hadn't expected to be so impressed. I came home with the pattern for the small Lone Star blocks. They didn't have any of the mini square interfacing on hand, or you know I would have picked up some of that, as well! : )
Well, I feel my words and photos have been inadequate in conveying what I experienced, but I tried. Carmen was a delightful presenter. She is an experienced teacher, very knowledgeable, with a fun sense of humor.
It was a very fascinating 3 hours. Well worth the time and the price didn't reflect the value of the event (cost was only $5 and we received a $10 coupon to the shop that could be used that day). They always have a Wednesday special, and it happened that if you spent $25 or more on this Wednesday, you got a free copy of one of the MSQC Block magazines. It really was a good day to be at My Girlfriend's Quilt Shoppe!


Oh wow Janet, where were these when I started the Lone Star, and the DWR.....
ReplyDeleteLove it, look forward to seeing more.
Sure you can do it justice!
Oh lovely quilts! Looks like you had heaps of fun. Fabulous your teacher was fun loving.
ReplyDeleteWow! I've seen the squares done that way before, but never the other shapes! I'm going to have to look into this more! :0)
ReplyDeletethe lone star is one I would love to use this process with. I am so glad you went and shared your day with us
ReplyDeleteamazing quilts/pictures, loved so many of them…
thanks for sharing.
Kathie
Sounds like a lot of fun at a great price. I'm sure you'll make something beautiful with your purchase.
ReplyDeleteWow, this sounds like it's definitely worth looking into! And I think you did a fine job of explaining it.
ReplyDeleteScore, girl!! What a delightful presentation you gave of your day! I've used the squares, but wasn't aware of the other shapes. The stars are amazing. Thanks for sharing!!
ReplyDeleteYep....the way I do my watercolor quilts!!!! You get perfect matching on the seams and the sewing is straight line and easy. Pellon has gridded interfacings in 1" and 2" also.......and in a pinch I use plain light weight fusible interfacing with no grid :) But then I have been doing this a long while. So glad you got to see and enjoy!
ReplyDeleteGreat morning eye candy. Thanks for posting the pictures!
ReplyDeleteInteresting. I made a sample wall hanging for a shop using a fusible that had the design printed on it. A long time ago and I did not care for the stiffness it added to the piece.
ReplyDeleteCarmen did address the fact that the interfacing was stiffer when it first came on the market about 20 years ago. It is very different now.
DeleteAnother fun and interesting day! My aunt and I bought the Quiltsmart interfacing and pattern for the Mondo bags - LOVE them. But...I must admit...she made mine for me!! Then I had her make another one for me for a gift for a friend!
ReplyDeletewhat an interesting concept. I was thinking at first it would make the quilts stiff. But it appears that it doesn't. Glad you had the chance to check it all out.
ReplyDeleteWow! Very interesting way to complete a quilt top. No class is that cheap here- I think you got a good bargain!
ReplyDeleteSounds like it was 3 hours well spent Janet - her quilts are amazing - I think your brain must have to work differently when you use this technique - I wonder if I could handle it? LOL
ReplyDeleteThis method is just so crazy good. Her tops are FABULOUS!! I watched the video link you provided the other day and I was just so amazed and wondering why oh why hadn't I thought of this. How come YOU didn't think of it?? ha!
ReplyDeleteI think you did a wonderful post on this. I will defiantly have to check this out. Thanks for sharing!!
What a beautiful display of quilts! I love going to programs like this. You learn a new technique and have fun!
ReplyDeleteYou have been a very busy girl with all your beautiful monk's and taking fun classes from Kim Diego and attending fun trunk shows...whew..keep on sewing...
ReplyDeleteMary
Well how cool is that? Anything that makes some of those really tough patterns easier is a win in my book. I'll look forward to seeing how your project turns out. I've seen those at quilt shows before but never knew how they worked. And I know you were happy to see the minis :*)
ReplyDeleteHmmmm....very interesting! Love those quilts. I never knew this stuff even existed!
ReplyDeleteKristie
Thanks for the awesome quilt show! I have used this method for Mondo bags and a simple squares quilt, but these are way beyond that level!
ReplyDeleteI had no idea Quiltsmart had come up with so many new designs. I would have chosen the Lone Star too :)
ReplyDeleteWow, wow, wow!! What incredible quilts!! I would have been totally overwhelmed!! :)
ReplyDeleteJanet, I love that new technique! What great quilts!
ReplyDeleteFun Mamma :)
ReplyDeleteYou'll have to SHOW me how it's done live sometime because my brain is not working right now :)
It is a very interesting technique - I think I've seen her lone star pattern for this method.
ReplyDeleteWhat is the overall advantage of using? keeping things square and lined up?
Her quilts are great. I wish I could feel it - looks soft and with a good drape.
Thanks for sharing - great class deal.
I've seen this technique before. I think it was for a watercolor quilt. Glad you got to go, Thanks for sharing the pictures. So Hotpads are on the agenda for the holidays???
ReplyDeleteThat was a great deal for the class! The sample quilts are so beautiful! I get how the straight seams work, but don't understand how the curved ones would work. Looks like a really interesting technique.
ReplyDeleteI have heard of this technique before but it is so good to see it in action - a really good post Janet describing it all :-) Her samples are lovely. Do you think you'll do more of this technique?
ReplyDelete