Saturday, September 12, 2015

On a Roll

When I completed the quilting on "Burgoyne Strikes Gold", I felt rather invincible. I had faced my fear and had walked away victor, so to speak. I decided I needed to ride that wave and pull out something else I have been afraid to quilt, before the feeling passed.
This was what I made when Lori (Humble Quilts Blog--this link takes you to the beginning of her latest little SAL) had her "Faithful" SAL. We were to use any  6" block we might have on hand, or make a new one, and she walked us through the steps of adding those HST borders.
The 6" Mariner's Compass that I used for the middle was made a couple of years ago on a dare (sort of) from Karen (Log Cabin Quilter blog). I didn't know what I was going to do with it, but I had to see if I could really make it. The pattern is named Sunburst (find it at the bottom of this blog post). It seems to fit, so that is what I think I will name the quilt.

I had decided that I would ditch stitch around the compass points and all of the HSTs, and put feathers in all of the black borders and around the compass.


Using the bendable ruler (this is a method I learned from a Patsy Thompson tutorial), I marked my feather spines.

Then I pin basted, and as I always do on minis, I did the ditch stitching on my DSM. I take ditch stitching  seriously. Stitching slowly, I really try to stay in the ditch.


The final touch was the feathering, on Gidget. When I feather on an outer border, I always draw a containment line 1/4" from the edge, so that my feather plumes don't end up under the binding.


Then finish with the 1" cut, single fold binding. Very happy with the results of this one.

My two "brave" finishes together.

I had a rather low-key Labor Day weekend, but I did get in some stitching. With the leftovers from "Burgoyne Strikes Gold", I made this little quilt, which finishes at about 7" square.
I think I'll name this little quilt "Pumpkin in the 9-patch".
And the little pincushion (yet to be stuffed) was from the leftovers of the little quilt.


I have been eager to try out this little pattern from issue #21 of Miniature Quilts Magazine. I have simplified it by not lining it. It is too tiny to see inside of, anyway.


They are paper pieced, but it isn't as involved as the little ornaments. I'm pretty sure I am going to be making a few more of these.


Speaking of ornaments, I also made a few of those over the Labor Day weekend.
Have yet to stuff them and add the hangers. That is the easy part.

I didn't feel like I had accomplished much over the weekend, but when I put it all together I guess it adds up.

One last thing. I have made slow, but steady progress on my little Thimble quilt in honor of my visit to Cyndi's Busy Thimble shop last month, in Maine. I've been using it as a leader/ender, but you don't do much of that when you are machine quilting, or paper piecing.
I love seeing how these little quilts shrink as the pieces get sewn together. This is at the halfway mark. It will probably finish somewhere in the neighborhood of 10"x16".

One of these days I am going to make progress on my current big quilt project. Won't that be shocking?

Until next time,
Janet O.

Saturday, September 5, 2015

The Making of a Mini Quilt--Part 2 (The Quilting)

It has been a year in the making, but I am so excited to have my mini Burgoyne Surrounded Quilt ALL finished. I think I will name it Burgoyne Strikes Gold, unless you have a better suggestion.
This is the quilt I made after seeing Lisa Bongean's version of the APQ Tone It Down designer quilt along last year. The blocks finish at 3 3/4" and there are 97 pieces in each block. With the sashings, cornerstones and borders, there are almost 1400 pieces in this 20" x 24" quilt. I don't normally count pieces, but I was really curious about this little thing.

After I got the top assembled earlier this year I had no clue how to quilt it. I loved the top and I didn't want to ruin it with my quilting. I do many of my little quilts with straight line quilting, but I knew this one needed special treatment. It sat for over 5 months while I waited for inspiration to strike.

I took it with me last month when visiting a friend that is a master machine quilter. We talked about some possibilities and I went home with a few ideas to mull over. When I finally chose what I wanted to quilt, I felt like I needed a stencil. So I went to the Forest Quilting website and found their Feathered Square design had the motif in it that I needed (highlighted in pink), but I needed it much smaller.
I printed it out and reduced it three or four times until it was the size I needed. Then I took the thread out of my quilting machine needle and stitched over the lines of the portion of the motif I would be using, to perforate it. Now I had a stencil for marking the design using my Pounce Pad.

First I marked a few of the designs on a practice sandwich in black fabric, to see if I could really quilt the design black-on-black. (On the actual quilt top I would pounce the design and then draw over the lines with the liquid chalk pen so that as I worked I didn't rub away the lines I needed.)
After determining that I could do this, I marked all of the quilt blocks and got the quilt sandwich basted and ready to quilt.

On my mini quilts I always do my straight line stitching with my Pfaff and its built in walking foot. The accuracy (or lack of it) on a mini is so much more noticeable, that I feel more comfortable with this method.
Straight line stitching through the diagonals and the "circles" received similar treatment.

Here you see part of the back with just the straight line quilting completed.

Now I moved over to Gidget (my HQ Sweet 16) and started on the fun stuff.
Once I get past the stress of what to quilt, I really do enjoy the process. When I go a long spell without machine quilting I forget how enjoyable I find it.

 Taking shape. The back...
 ...and the front.
I thought this quilt would take me a long time, but within a couple of days I was ready to quilt the border. Using a bendable ruler, I marked the spine for the feathered border and then quilted the feathers free motion.
 All quilted within two days--and I am thrilled with the results. It isn't perfect and there are plenty of flaws to find, but black on black makes them less visible, so I am happy. : )

Now for the binding. I always use single fold binding on my minis. I used to use 1 1/8" cuts for binding minis, but I have moved to 1" on most, unless the batting is thicker.
One inch binding went around this little quilt. Though on bigger quilts I use the Clover Wonder clips, for this tiny binding, I pin it very closely.
I figured that since I had written a post just over a year ago titled "The Making of a Mini Quilt", using the piecing of this quilt as my focus, it made sense to finish up the process.
I am loving this quilt! I have a class from Lisa Bongean in a couple of weeks and I am planning to take this and get her to sign my label, since she inspired the quilt.

I had so much fun on the quilting that it made me want to try something new. I had watched a couple of Angela Walters videos online and printed out photos of her designs to try.
 I played around with her hooked swirl on a practice sandwich. It isn't ready for prime time, but it has potential and I hope to put it on a quilt soon.

This quilt has been bound and should have reached my friend's husband by now. I pray for him daily as he adjusts to the loss of his dear wife.
Her work was very precise--quality stuff. If I didn't already have a couple of little quilts she made it would have been harder to send this one back. : )

Until next time,
Janet O.

Saturday, August 29, 2015

Do you have this pattern?

I am binding this quilt for a dear friend who passed away a couple of weeks ago.  What an emotional journey. To be finishing her quilt is an honor.
She asked if I would get it bound and send it back to her husband so that he could hang it in their home. I would like to give credit to the designer on the label I am making. I found the quilt on Pinterest labeled as a Jo Morton design from American Patchwork and Quilting. The link does go to the magazine's website, and identifies the pattern as Midnight Garden from their April 2009 issue, but does not give the designer. If you have that issue and could clarify for me whether or not Jo M. is the designer I would greatly appreciate it. It looks like a Jo Morton design, but Pinterest has been wrong a time or two, so I would prefer to get confirmation from someone.

The August blocks for the Buttermilk Basin Mystery BOM and the Attic Heirlooms Ornament of the Month are now stitched. It feels good to be caught up, even if it is only for a couple of days.

I don't think I have shown the finishes on the past two "ornament" blocks, but let's look at the last one first.


This is a close up of the current one. Those were supposed to be red berries on the bow, but it seemed rather colorless, so I made bells instead of berries.Kind of tricky to get the stitching to look like I wanted it to on a circle that small.


I couldn't find red beads the size I wanted for this one. I have some much larger than these, but I wanted something somewhere between these tiny ones and the big ones. The little ones looked best, of the two.


Then we have a happy little snow angel with a garland (or maybe it is a strand of lights).


This is all of them, so far.

You may as well see all of the BB Mystery blocks so far, too.

I got a couple of "pillowcase" dresses made to send to Lori (Humble Quilts blog). She is taking them to Bolivia. Mine look more like aprons here, because I opted not to use the pattern with elastic across the top. But they will be gathered there when they are tied at the shoulders.


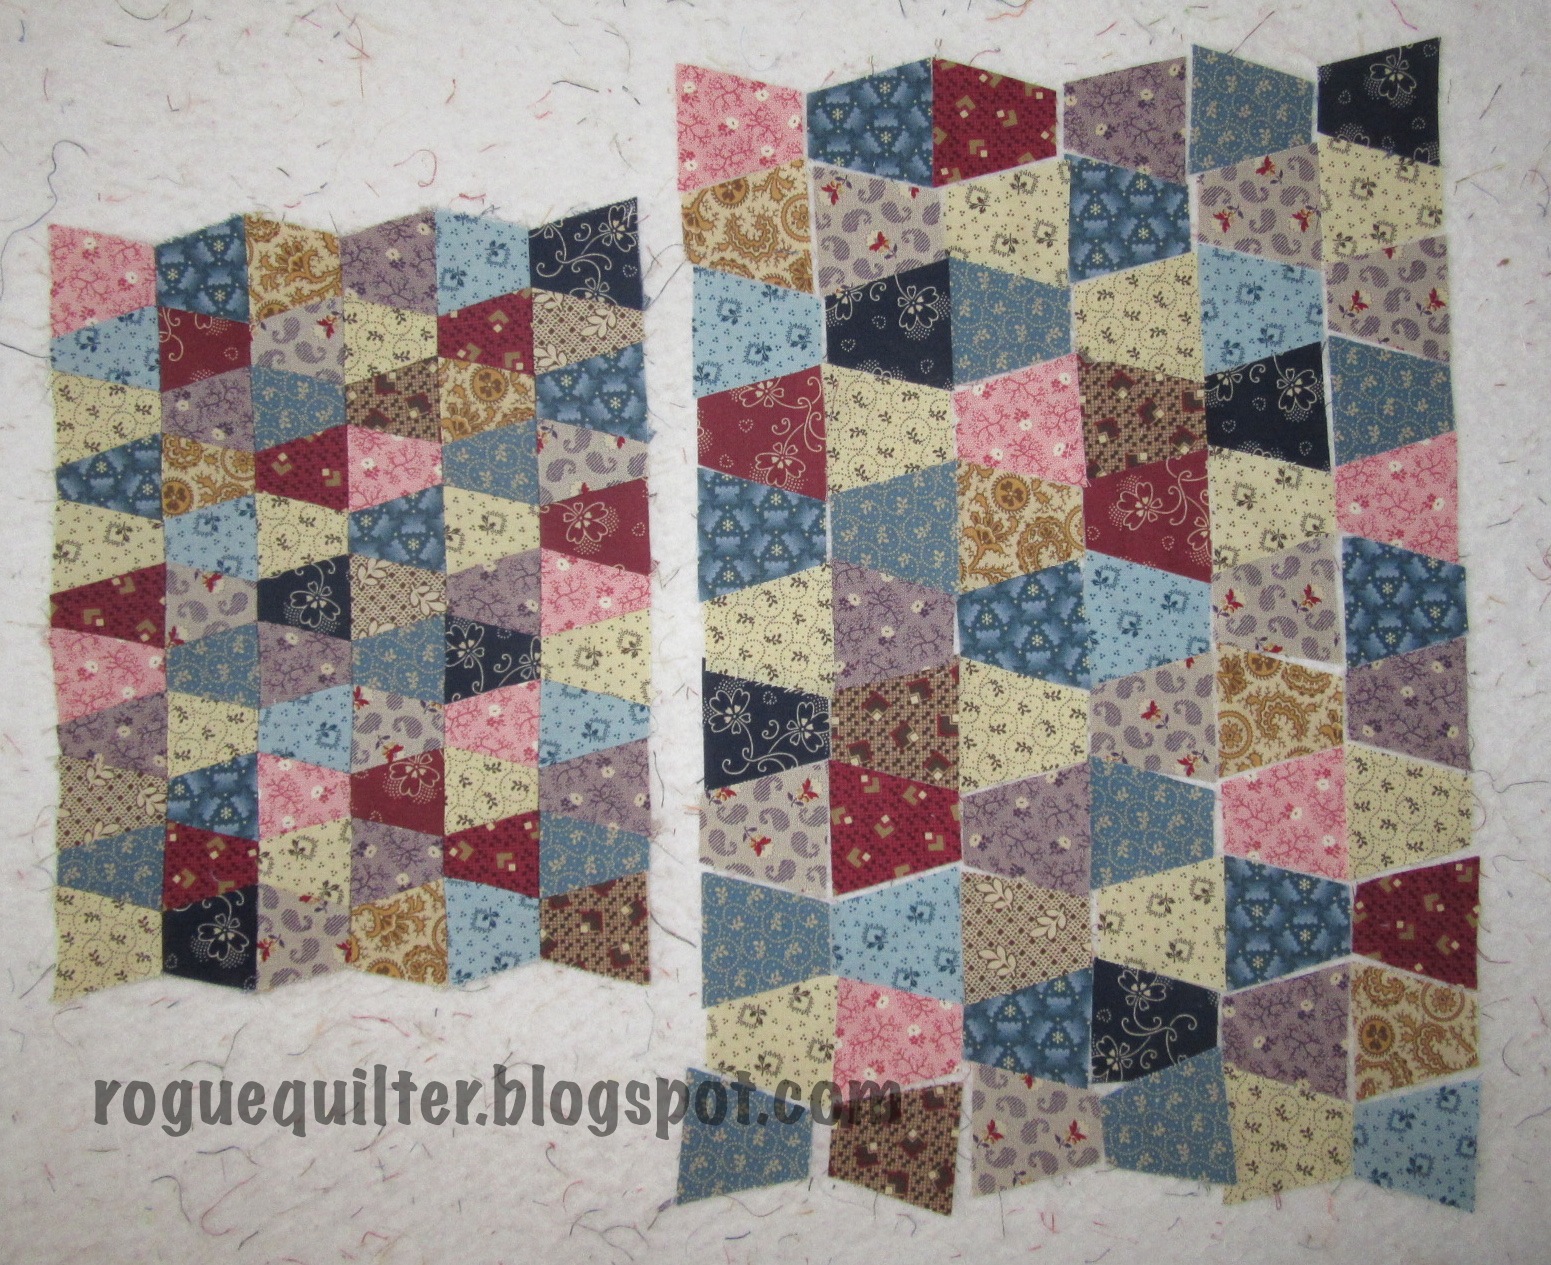
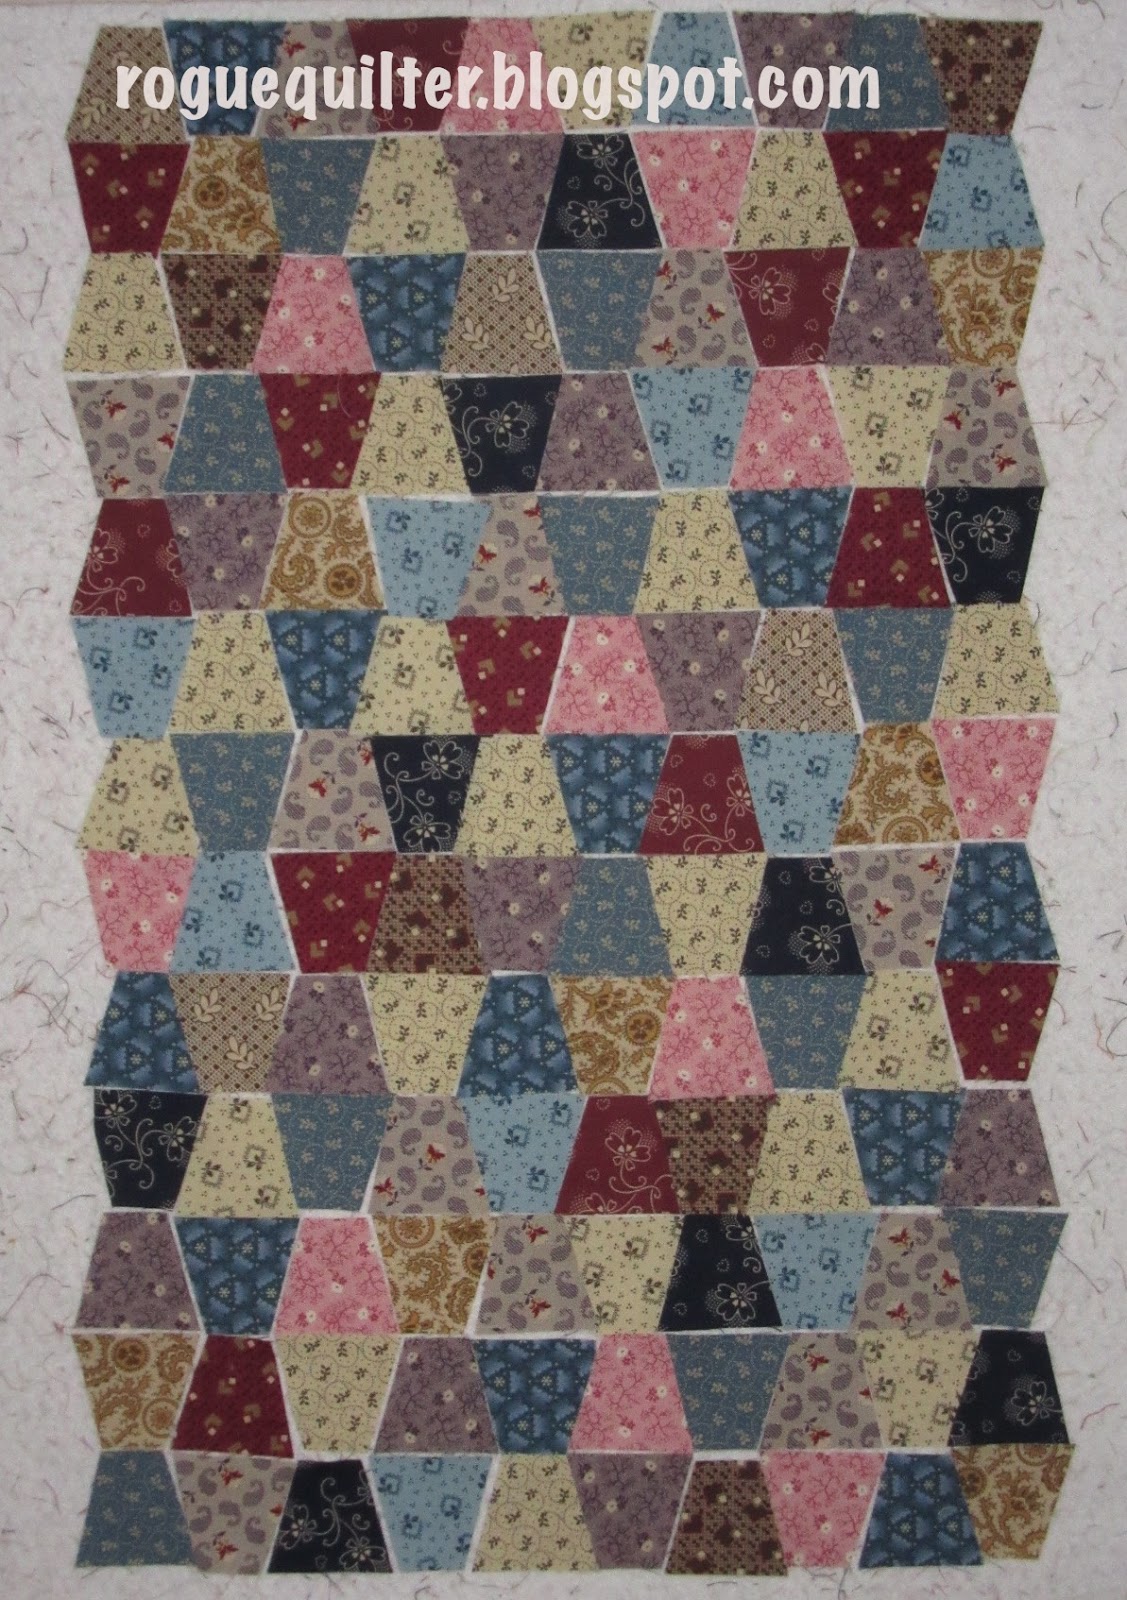
That sweet Cyndi at Busy Thimble quilt shop saw me petting a new line of fabric when I was in her shop, but I didn't purchase anything from it. She was cutting kits from the fabric later, and she sent me a package of the trimmings. This photo doesn't do justice to the colors, and there is more variety in the line than this, but these are the ones I chose to make a mini Thimble quilt to remember my visit to the Busy Thimble. (I used the Primitive Gatherings Tiny Tumbler template.) As I get sewing them together and gauge the shrinkage on this quilt (mini quilts shrink something fierce), I may adjust the length and/or width.


Been purging in the sewing room. It will never all fit nicely, but at least now there aren't piles all over on the floor and chairs. Still a little bit on the table, for which I cannot find homes (Denise and Mom--that sentence structure was for the two of you)), but it feels good to walk into a relatively clean room for some stitching. Think I'll step in there again.
Enjoy your day.
Until next time,
Janet O.


Saturday, August 22, 2015

My New Favorite Quilt Shop...


...is only 2400+ miles away from home (if you drive it, or just over 2000 miles the way the airplane flies)!!

While visiting DD#1 in New Hampshire this past week, we ventured into Maine to visit a couple of her favorite places (Two Lights State Park, and Portland Head Lighthouse), and to find a new favorite place--Cyndi's Busy Thimble quilt shop.
 Not your typical quilt shop, The Busy Thimble is off the beaten path in Litchfield, Maine, next to Cyndi's home. From the outside it appears to be a quaint little cottage, complete with the cottage garden.

Prepare yourself before entering, if you are a lover of 1800s repro fabric and mini quilts. This is my idea of quilting heaven. I think the term "system overload" describes the experience my daughter and I had here.
Look at those wonderful little quilts hanging behind us!
Cyndi is a delightful hostess, and if you can't be there during her usual Wed-Sat hours, she will try to accommodate you, if you contact her for an appointment. She opened up for us on a Monday morning.
 I have never seen so much repro fabric in one place before! As my friend, Grace, says she tells Cyndi whenever she visits--I'll take a yard of each!
 Every inch of space is filled with temptation. My daughter and I wandered through the aisles over and over again trying to focus and narrow down our choices. I am glad I had made a mental note of color holes in my stash so that I was able to finally settle down and make selections.
Look at the clever way Cyndi is displaying her Stars In A Time Warp blocks.
I didn't even get photos of the fabric on one whole side of the store, but I did get photos of the quilts on display--wall hangings and minis. I was in my element! Click on any photo to enlarge it.


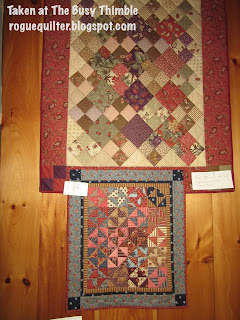


This was not a small quilt, but look at those little blocks! I had my daughter stand by it to give perspective to their size.

The trip to Cyndi's was definitely worth it, and if repros are your thing, you may want to find a reason to find yourself in Maine!


Maybe these reasons would help. Beautifully rugged coastline greeted us at every turn. It was breathtaking. Coming from a landlocked place, I am awed by the vastness of the ocean.


 Other than this Grand Day Out (for you Wallace and Grommit fans) in Maine, we spent most of the 8 days I was in NH chilling at home, playing with that terribly cute grandbaby (whose photos I cannot post), and trying our hand at some gluten free baking (the zucchini muffins were my personal favorite).

Oh, we did stop here for a few minutes after a run to the local library and bookstore. We just shopped the sale room and the 25 cent scrap bin.
I had to choose my fabric purchases carefully, because I only brought 2 carry on sized bags and they were already pretty full. With the two shops visited, this is what came home to enhance my stash.
The top "fan of fabric" was my haul from Cyndi's. I could have done so much more damage, but I focused on the purples, blacks, cheddars and greens--those reds and blues somehow slipped in on their own.
I bought 2 one yard cuts at Keepsake and found lots of batiks in their scrap bin, along with a couple of Kim Diehl neutrals, a great vintage patriotic print, and some checks and dots for the novelty pile.

Another thing I love in New England, besides the fabric stores, is all the covered bridges. On the way home from church Sunday we stopped at a couple for photo ops.
Had never seen a covered bridge until my first visit to New England 7 or 8 years ago, and then I just saw them from a distance. I had never been on a covered bridge until our first visit to DD#1 after their move here a few years ago.

When did this post become the travelogue that never ends?
I will close with a quilty tip. Before leaving for NH I was doing some "catch up" on my Attic Heirloom Ornament of the Month blocks, and was frustrated that when I tried to retrieve a ball of floss from the bowl by my stitching chair, I would often end up knocking another ball or two onto the floor as I dug for the right one.
At the local Ross store I saw these narrow wooden bowls or trays  for under $3. They hold about 8 balls of floss beautifully. No digging to find the needed color. I am all about finding pretty things for functional purposes. My sewing room is full of wood, wicker and wire containers. I try to keep the plastic hidden under tables and in closets. So this little tray is a much better option to me than the plastic drawer dividers that are currently in the closet. I like my containers to be aesthetically pleasing, if at all possible. Just another of my quirks that I have learned to live with. (Sorry, Mom, I know I ended that sentence with a preposition.)

Wow, did you really stay with me all the way to the end? If so, tell me how far you would have to go to get to the favorite quilt shop you have ever visited. My favorite used to be 2 hours away, but that one now comes in a distant second. : )

Until next time,
Janet O.