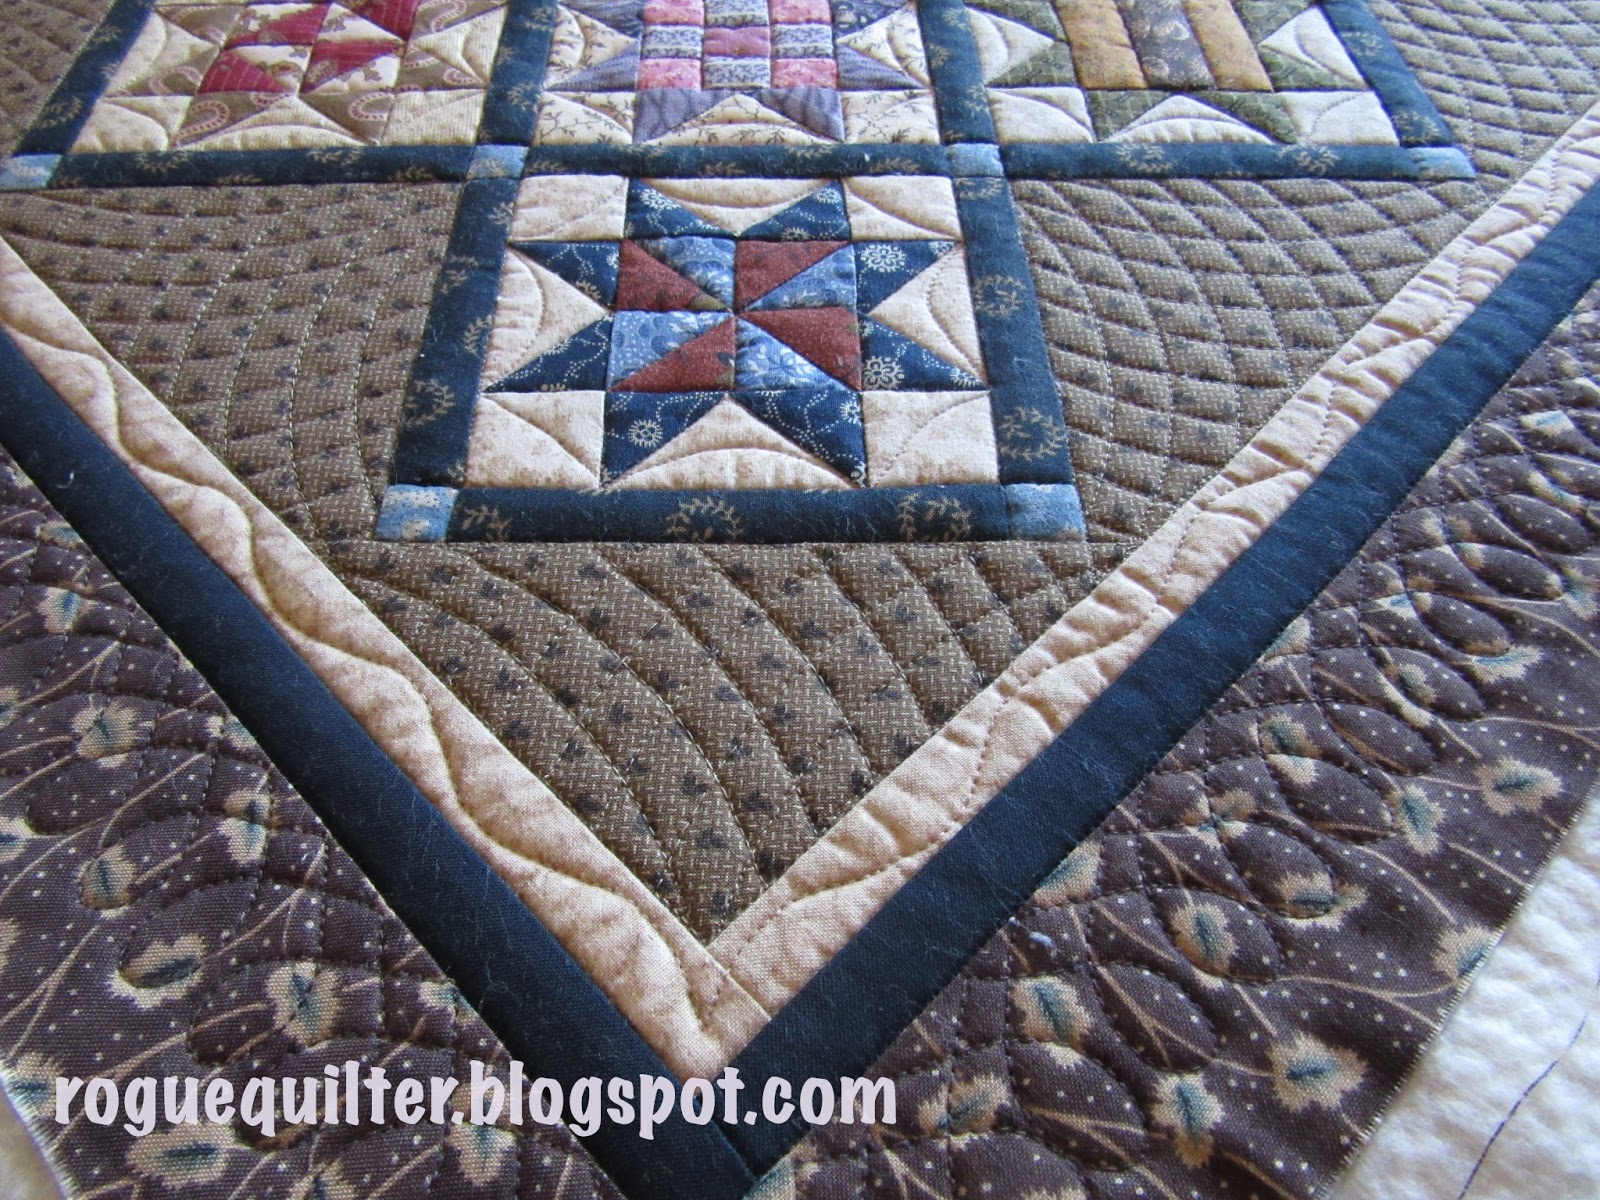
It has been a year in the making, but I am so excited to have my mini Burgoyne Surrounded Quilt ALL finished. I think I will name it Burgoyne Strikes Gold, unless you have a better suggestion.
This is the quilt I made after seeing
Lisa Bongean's version of the APQ Tone It Down designer quilt along last year. The blocks finish at 3 3/4" and there are 97 pieces in each block. With the sashings, cornerstones and borders, there are almost 1400 pieces in this 20" x 24" quilt. I don't normally count pieces, but I was really curious about this little thing.
After I got the top assembled earlier this year I had no clue how to quilt it. I loved the top and I didn't want to ruin it with my quilting. I do many of my little quilts with straight line quilting, but I knew this one needed special treatment. It sat for over 5 months while I waited for inspiration to strike.
I took it with me last month when visiting a friend that is a master machine quilter. We talked about some possibilities and I went home with a few ideas to mull over. When I finally chose what I wanted to quilt, I felt like I needed a stencil. So I went to the Forest Quilting website and found their
Feathered Square design had the motif in it that I needed (highlighted in pink), but I needed it much smaller.

I printed it out and reduced it three or four times until it was the size I needed. Then I took the thread out of my quilting machine needle and stitched over the lines of the portion of the motif I would be using, to perforate it. Now I had a stencil for marking the design using my Pounce Pad.
First I marked a few of the designs on a practice sandwich in black fabric, to see if I could really quilt the design black-on-black. (On the actual quilt top I would pounce the design and then draw over the lines with the liquid chalk pen so that as I worked I didn't rub away the lines I needed.)
After determining that I could do this, I marked all of the quilt blocks and got the quilt sandwich basted and ready to quilt.
On my mini quilts I always do my straight line stitching with my Pfaff and its built in walking foot. The accuracy (or lack of it) on a mini is so much more noticeable, that I feel more comfortable with this method.
Straight line stitching through the diagonals and the "circles" received similar treatment.
Here you see part of the back with just the straight line quilting completed.
Now I moved over to Gidget (my HQ Sweet 16) and started on the fun stuff.
Once I get past the stress of what to quilt, I really do enjoy the process. When I go a long spell without machine quilting I forget how enjoyable I find it.
Taking shape. The back...
...and the front.
I thought this quilt would take me a long time, but within a couple of days I was ready to quilt the border. Using a bendable ruler, I marked the spine for the feathered border and then quilted the feathers free motion.
All quilted within two days--and I am thrilled with the results. It isn't perfect and there are plenty of flaws to find, but black on black makes them less visible, so I am happy. : )
Now for the binding. I always use single fold binding on my minis. I used to use 1 1/8" cuts for binding minis, but I have moved to 1" on most, unless the batting is thicker.
One inch binding went around this little quilt. Though on bigger quilts I use the Clover Wonder clips, for this tiny binding, I pin it very closely.
I figured that since I had written a post just over a year ago titled "The Making of a Mini Quilt", using the piecing of this quilt as my focus, it made sense to finish up the process.
I am loving this quilt! I have a class from Lisa Bongean in a couple of weeks and I am planning to take this and get her to sign my label, since she inspired the quilt.
I had so much fun on the quilting that it made me want to try something new. I had watched a couple of Angela Walters videos online and printed out photos of her designs to try.
I played around with her
hooked swirl on a practice sandwich. It isn't ready for prime time, but it has potential and I hope to put it on a quilt soon.
This quilt has been bound and should have reached my friend's husband by now. I pray for him daily as he adjusts to the loss of his dear wife.
Her work was very precise--quality stuff. If I didn't already have a couple of little quilts she made it would have been harder to send this one back. : )
Until next time,
Janet O.


 (I like to make my stencils work for me. I try to see them as more than just the obvious design.)