Showing posts with label Windmill blocks. Show all posts

Saturday, April 16, 2022

Leader/Ender At An End

These Windmill blocks have been a leader/ender project for me off and on since October 2014! This was inspired by Kathie Holland at Inspired By Antique Quilts blog (which no longer exists). I sure miss Kathie!  The blocks finish at 4". They are going to need trimming before I start sewing them together, but I am finally finished cutting and sewing blocks. This is as far as I am taking this.

I purposely did NOT try to keep like colors apart from each other. This is the most "just throw it up on the wall" I have ever done. The lighting wasn't great at night when I took this photo, but all of the colors are a couple of shades of blues, along with deep reds and blacks--and a wide range of neutrals. There are "make do" blocks all over the place. One block has 5 different fabrics. Betcha' can't find it. ;)

The shapes are cut using one of the mini acrylic templates from a set of 12 by Bay Creek Quilting. Most of the set are jelly roll friendly.  This photo of the set was lifted from the Bay Creek website. The second from the right on the top row is the one I used here. You have to cut with all of your fabric either right side up, or all of it right side down--also, always face the ruler the same direction. I once cut a bunch facing the wrong way, and I included three of those blocks in this quilt. Can you see the 3 windmills spinning the wrong way?

About the only other sewing I have done since my last post involved using up leftover sashing strips and scraps from the purple Heartfelt quilt. I got the blocks (1 1/2" finished) assembled and now I am debating, "To border, or not to border?"

I have a lovely purple paisley I had wanted to use, but it has lots of red in it, and they just didn't do anything for each other.


So many things other than quilting have been going on, and during a minute here and a minute there, along with much help from family on their Sunday visits, this puzzle finally got finished! Hubby insisted I be in the picture. Love those sea turtles!
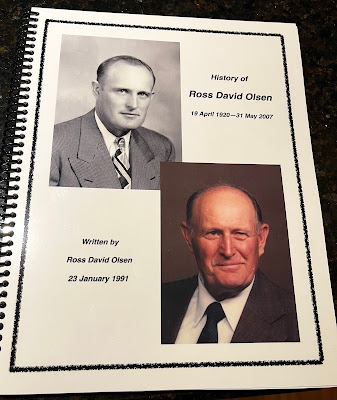

I also finally got my father-in-law's history printed up for the family. It has taken me a year to get photos and documents found and added to the history he had written when he was 70. It took the history from 25 pages to 160 pages! I hope he would be pleased with the final result. This Tuesday will be the 102nd anniversary of his birth. He has been gone for almost 15 years.


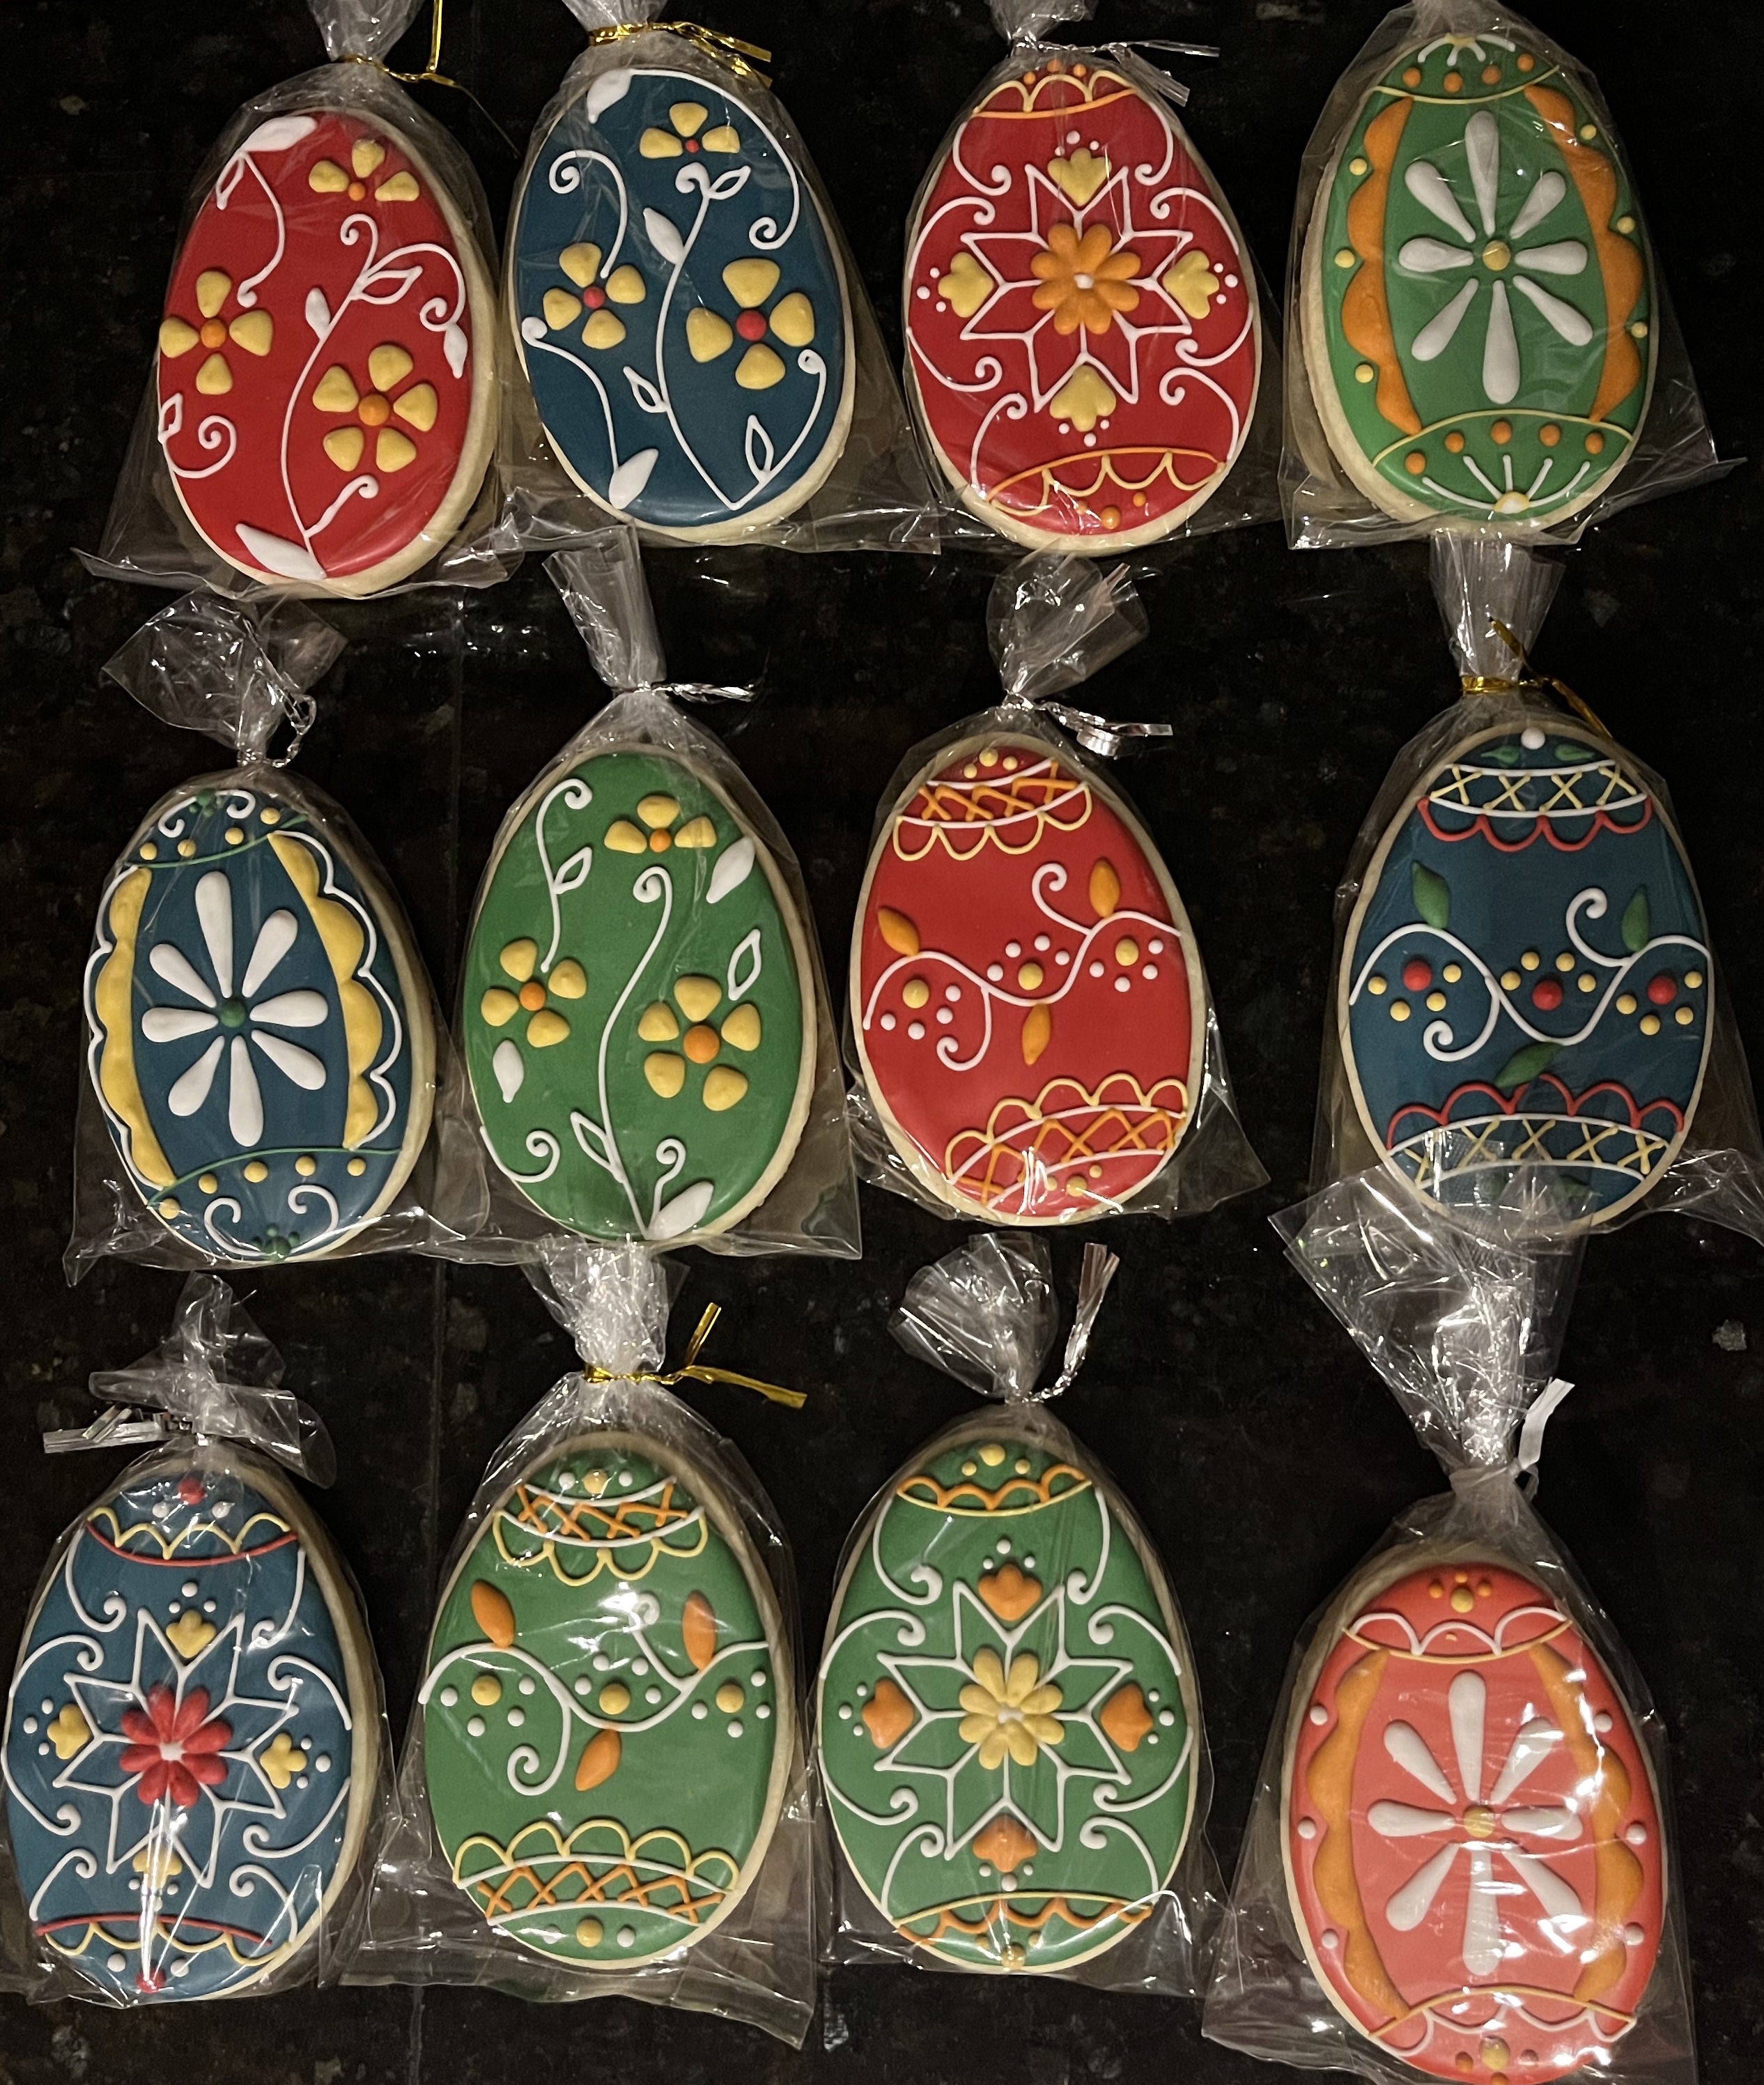
So many people are trying to do good things to help the situation in Ukraine--and the people who are fleeing. I have been trying to support the efforts of others, including DD#2, who is a "cookier".  She made these lovely cookies based on the Ukrainian eggs, or pysanky. She has made and sold hundreds of these cookies via her Instagram account and word of mouth. I can't eat them, but I bought some and delivered them to friends and neighbors. They are so pretty!
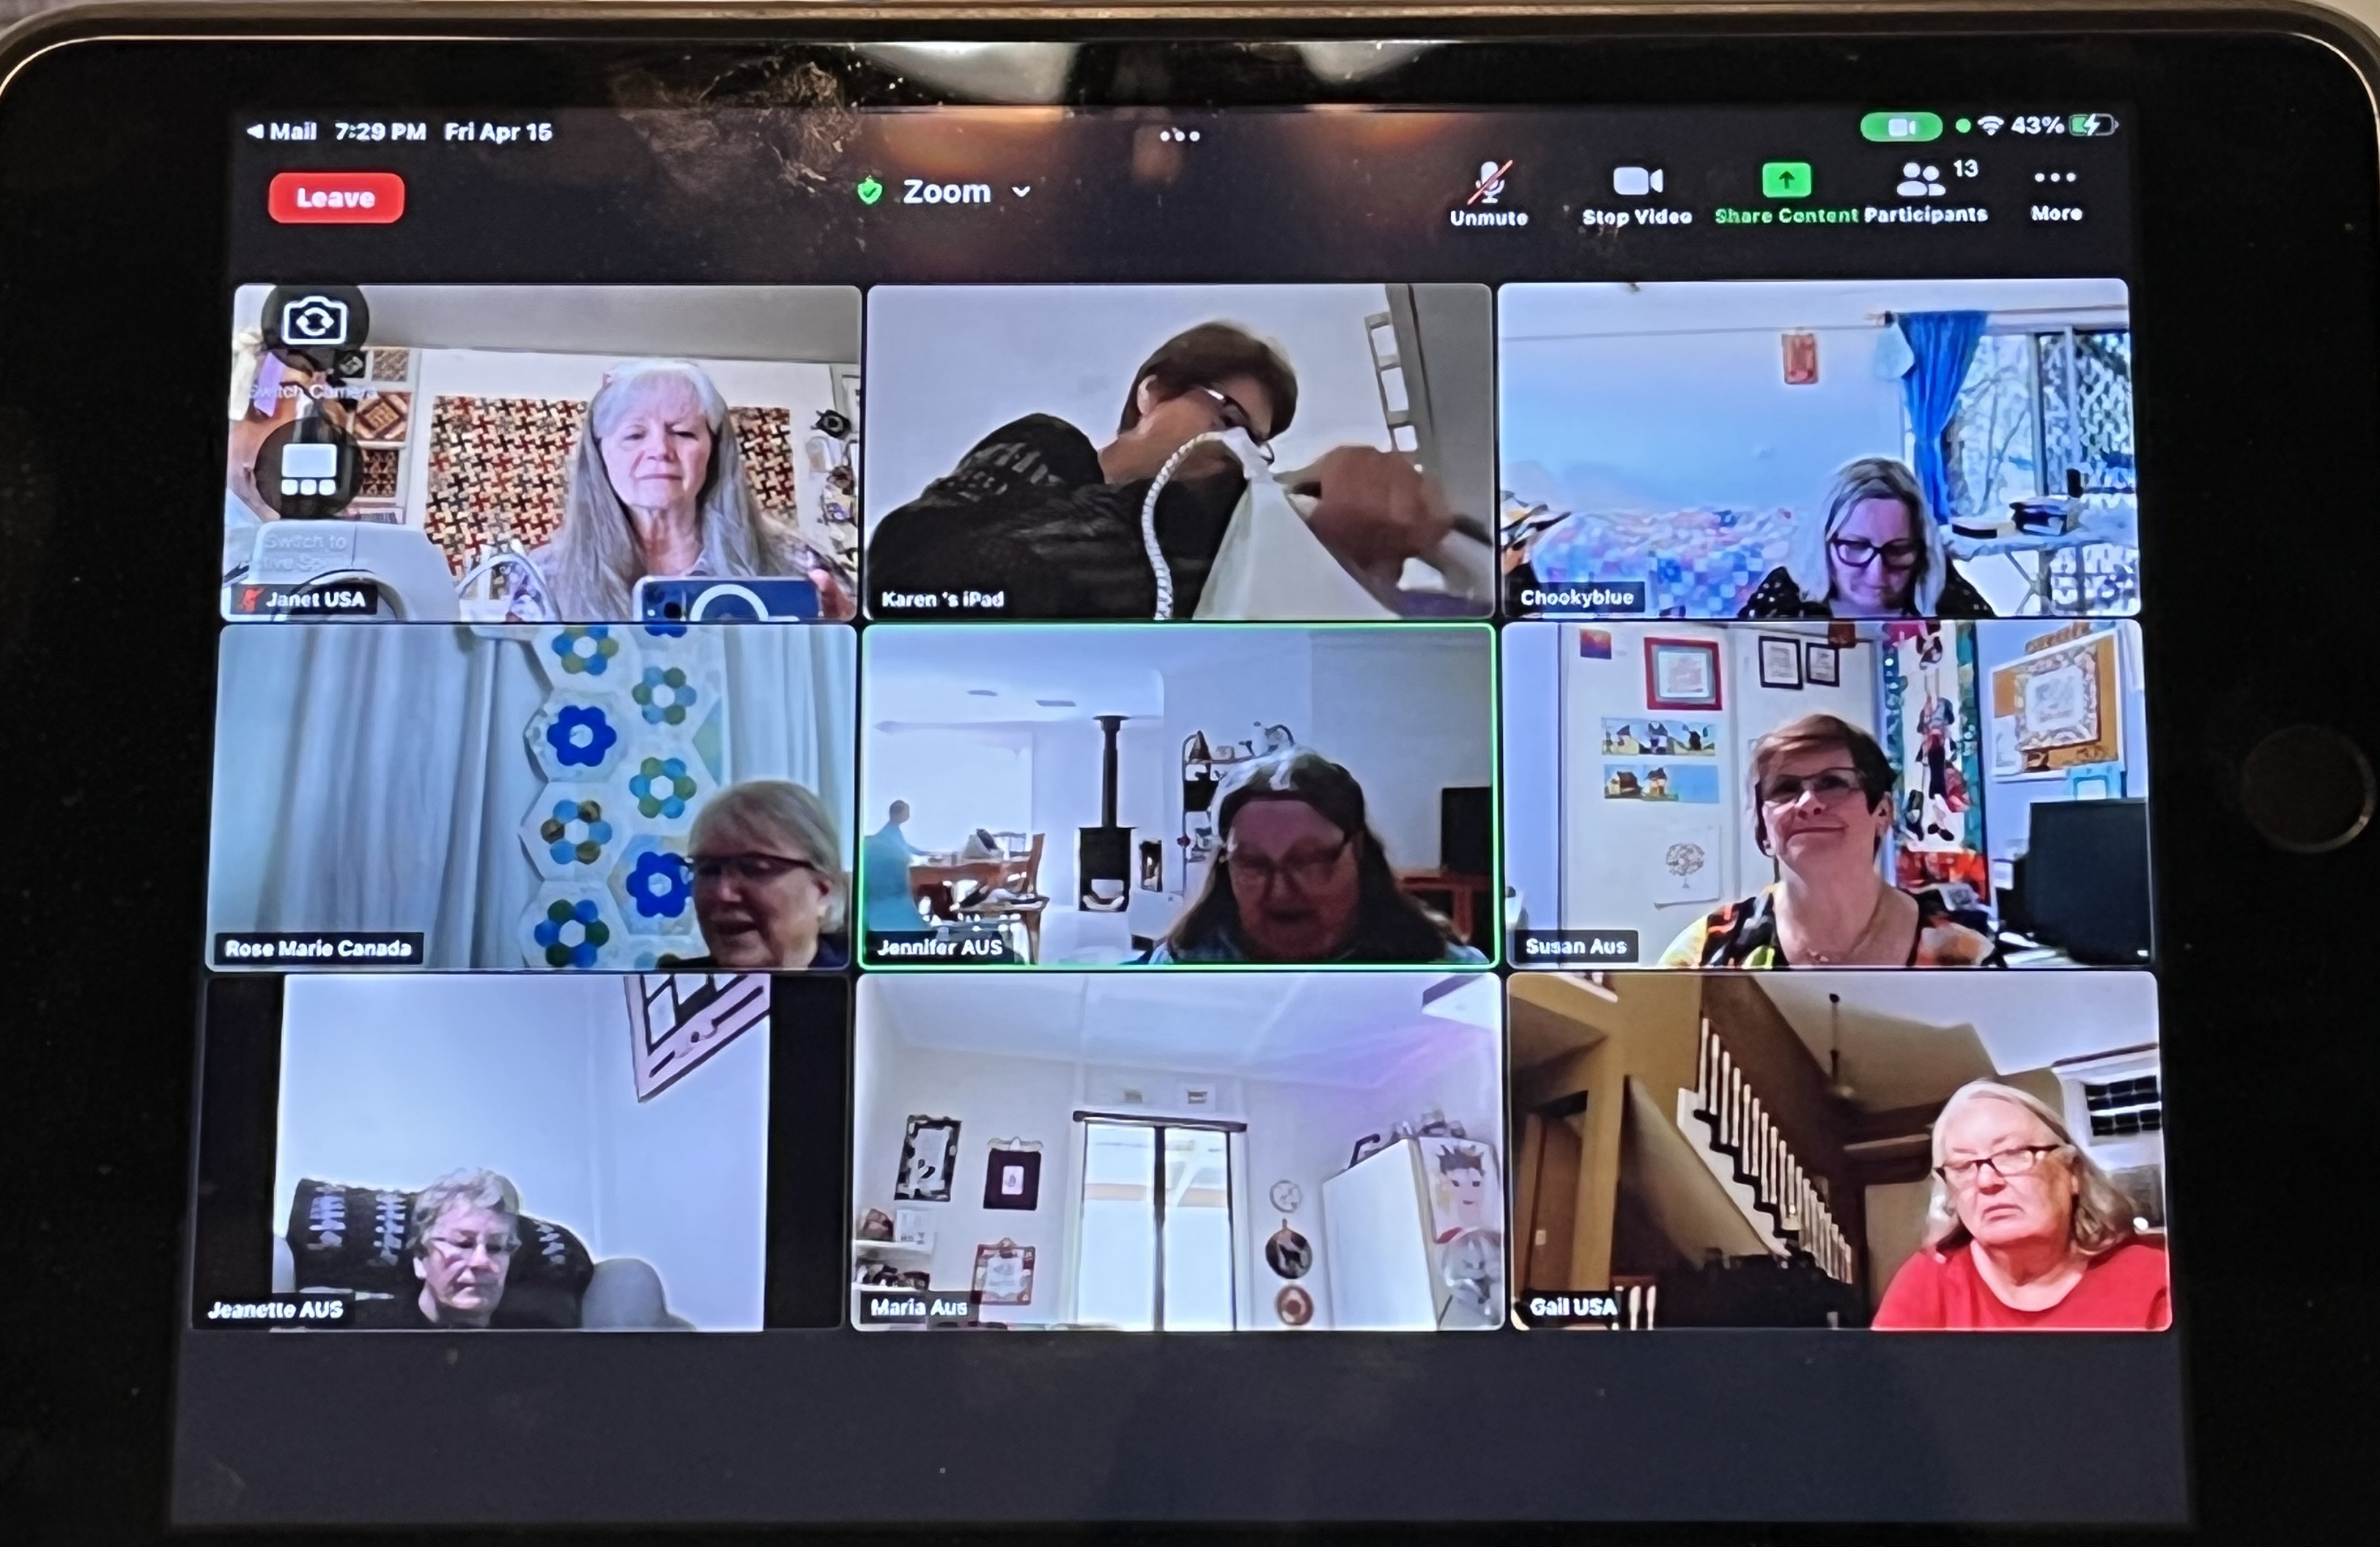
Chookyblue has been quite the social butterfly lately, with Zoom parties almost every week. So fun to visit, even if you can only join in for a short time. I caught the tail end of it this time around, but I was glad to have a chat, while I unpicked some seams that looked like I had done them in my sleep. I probably had!

I wish all who observe Easter a blessed day of celebration. If you would like to watch a brief, but thought-provoking Easter message, click the link #Because of Him.


Leaving you with another shot of sunset over the mountains. I was driving home the other night and about 1/2 mile south of my home I had to stop (in the middle of the road) and take a picture. I knew if I waited until I got home the color would be gone--and I was right. And yes, we have had a wet and snowy week.
You should be able to click on the photo to enlarge it.


Until next time, be creative, and be kind.
Janet O.

Wednesday, August 21, 2019

Coming up for air (Don't know if that means me or this project)

Remember this project?  This has been a leader/ender project at one of my machines for five years now. It was inspired by Kathie Holland, formerly of "Inspired by Antique Quilts" blog. Each windmill is around 4". I've enjoyed throwing in some "make do" blocks, and I recently came across one block I had made from some accidentally backwards cut pieces. I think I want to throw that reverse windmill in the mix somewhere, for a fun little quirk.
This photo is from two years ago, and I have added many more blocks since it was taken, but my design wall is kind of full right now, and I had no desire to lay these out on the floor, and then have to keep bending over, or crawl around on the floor to pick them up again.

I recently got all of the blocks out and stacked them by color to see how evenly divided the colors are.  Then I figured out how many of each color I had cut and ready to sew, and how many more neutrals I need to cut to go with them.


Then I clipped the finished blocks in groups of by ten, by color. I think I am going to be making about 90 more blocks and then see what size quilt it will all create.


I've also been trying to assemble the "June" small quilt for the Circa 1880 club.
I can't seem to get the cheddar/indigo color palette out of my blood. In this photo the borders are just laying on the design board around the completed center. Since taking this photo I have been able to attach two rounds of the borders.

Though my sewing room is currently a mess (and may be for some time), it is still my happy place. Even when I am so lacking in focus that I can't simply run my leader/ender blocks under my needle, I may still choose to come into this disaster area and read in my chair. Notice the aforementioned full design wall?

You can see a partial shot of the hexie flowers on a design board to the right in the photo above. I am now on block #12. Hubby and I are heading to Sun Valley, Idaho. He belongs to a choir that is going to perform at an outdoor venue there. It takes several hours on the road from here to there, so I may get another one or two hexie flowers stitched to the background if the light is good.

Anybody recommend a good quilt shop in the Sun Valley area? I am going to have time on my hands while hubby is in rehearsals. :) 

Until next time,
Janet O.
 

Saturday, January 12, 2019

What happens at retreat...

...is never enough!
I always have such grand plans, and I honestly stay pretty well focused while I'm there. My roommate and I are not there to play (but we do still have fun). We are there to make serious progress. But it is never enough.

Once again our retreat was held at the lovely Academy Conference Center in downtown Brigham City, UT.
There were classes going on in a downstairs room most of the time, so the sewing room hardly ever seemed full, though there were about 35 of us there.

I did end up with 11 finished rows on my Circa 1880 quilt. I had six finished when I arrived, so I added five. (One more was made after this photo was taken.)


I haven't touched my Scrappy Trips (Bonnie Hunter free pattern) quilt since retreat last January. This time I added 12 blocks (4 of them were made after this photo was taken). Six more blocks to go. I'd better finish this up before next January!


This little quilt pattern was added to my luggage as a last minute afterthought (along with a basket of HSTs), but it turned out to be the only small project I brought that I actually worked on. There are supposed to be 5 more blocks, but it is really tempting to just sew up these 4 and call it good. I think the Broken Dish blocks finish at 2"


My leader/ender blocks were added to, when the project I was sewing didn't create its own leader/enders.
I almost have 200 of these windmill blocks now, and I have a bunch of them cut out. I think I will finish the ones I have cut, and then I will be done with this one. I have been doing these for years.


The first two days they provided a make-n-take project at 7 p.m. I just brought home the kit for the first one--it is a project bag.

But the second day they hit me in a soft spot--foundation paper piecing mini flying geese!


It all came together to make this key holder that slips onto your wrist.


The retreat ran for three days and the sewing room was open from 8 a.m. to 10 p.m. We took full advantage of those hours. We were the first ones there each morning, and among those being shooed out at closing time each night--except for the last night. Technically we could stay and sew until 10 even the last night, but a good share of the quilters had packed up and left by 5 p.m.

In the photo above you can see three diehard quilters to the back of the room, and the ladies to the left are employees and owner of the sponsoring shop, just waiting around for the rest of us to go home, so they can do likewise. My retreat buddy got a shot of me about this same time.


We finally left around 7:30, and the other two gals were beginning to pack up to get on their way.
It was a great escape--just what I needed, and just in time to preserve my sanity!

Now back to real life. :)


Until next time, 
Janet O.

Friday, October 6, 2017

Palmateer Point, Etc.

Linking up with Lori at Humble Quilts for her Palmateer Point QAL.
If you read my last post, you know I made mine quite a bit smaller than the instructions indicated.
Mine finishes up at 7 1/2" square (kind of).


I had hoped to gift this, but I am just not real pleased with my workmanship. Maybe I was too tired, or not focused enough, or something.


This is named Stewart Pass, for the place near where my family is standing in the photo below. 
We hiked this with my Dad and some other family members 23 years ago, when my Dad was 70. This photo used to be in his home office, and when he passed away last year the photo came home with me. Our youngest child was 5 at the time, and he did a fair amount of riding on his Dad's shoulders. It is a steep hike, switchbacks notwithstanding. I don't know how hubby did it with a 5 year old on his shoulders!

The trail we took is in the mountains I am always showing you--the view from my sewing room window. We got up to the ridge line, but didn't make it to one of the highest peaks. The elevation was about 8500 ft.
I had hoped to hike those mountains again this year, but I have been in therapy for foot issues this summer. :(
You can see the Fall color at the base of the mountains. When we drove to Salt Lake City to take our daughter and granddaughter to the airport on Monday, we drove through colorful Sardine Canyon. Enjoy some of the sights and keep in mind these photos were all taken from the back seat of a moving car, so please excuse the blur here and there. Click to enlarge for a better view.


I've been curious to see how my perpetual leader/ender project was coming along. Today I cleared off the design wall and proceeded to put up my blocks. This windmill project was begun 3 years ago this month, inspired by Kathie Holland, formerly of Inspired by Antique Quilts blog.
Poor lighting, but you get the idea. I will finish the two rows coming down the right side and then assess whether I want to continue working on this, or sew it up into a throw quilt. The blocks finish at about 4", and it is a fun, quick block to stitch. I have used many other things as leader/enders over those three years, but this is what I always come back to when nothing else is available.

Do you recall when I took another class with Miss Stacy a couple of years ago? We made this fun mat, that was sized to go in an oval metal tray that she was going to be carrying on her website. I don't see them there, and I really don't have a place to display it anyway, so I thought I would draw a name from any interested parties. If you are interested, let me know in your comment. If you don't mention it, I will take that to mean you are not.

It is a cool Fall day here. I have a pot of chili simmering on the stove and will soon be making some Gluten Free cornbread to go with it for a social at our church this evening. Hope you have a fun Friday evening planned!
Until next time,
Janet O.

Friday, July 7, 2017

Two little finishes

This little quilt had been hanging on the side of my design wall in flimsy form for months. I pretty much knew how I wanted to quilt it, I was just waiting until I was threading Gidget for some other project, with a color that would match this. Finally happened last week, when I was quilting my latest swap quilt that I cannot show you yet.
The pincushion is a result of the bag of tiny Kim Diehl scraps I found in my sewing room last week. I actually made this pincushion in "pillow" style, rather than the box style I normally make.
I know it isn't real obvious, but I mixed machine and hand quilting on this. You can see the machine quilting pretty well here. If you look closely at the border fabric you may be able to tell that there is hand stitching along that little vine that meanders back and forth across the stripe.


Maybe you can see it better in this shot. 
This quilt is almost square, measuring 9 1/4" x 9 3/4". I didn't plan the size. I just sliced up a bunch of mini charm squares and stitched them together until I had used them up. It was my usual "fly-by-the-seat-of-my-pants" design method.

Since Bonnie Hunter posted her new leader/ender challenge for the coming year several people have asked me if I am joining in. That would be a "no". I love leader/enders and use them constantly, but I have enough UFOs waiting in line for their turn under the needle, that I always use one of them as my leader/ender project rather than creating a new UFO.

These windmill blocks have been my leader/ender for about 2 1/2 years now. Occasionally I let the smaller units in a project be its own leader/ender, but when that is not the case, the windmills are my "go to". I have about 150 4" blocks so far and there are many more strips cut in this color scheme, waiting to be sliced  into the windmill shape.


I must admit that I have had a bit of a distraction from sewing this week. Little Maggie, and her mother (DD#1), are here from Oregon and are spending the week with us. Who wants to sew when they can spend time with family?


Until next time, 
Janet O.

Saturday, December 6, 2014

Progress--slow and steady.

I've been wanting to try this pattern for some time (from Crafts ‘n Things magazine, December 2007; design by Mary Ayres). Well, once I got started, my compulsive nature took over. Now there are six!
 I put my own twist on them, and I made them a little larger than the pattern (6 1/2" by 7 1/2"). Once I decide what to use for binding, they will get bound and I will hang them from little hangers using little clothespins. No, I am not keeping them all! : )
They are "big stitch" quilted--well, at least as big as I can stitch. After years of being programed to take tiny stitches, I find it hard to do big stitch, much as I like the look.


My Christmas themed Lamb For All Seasons (based on Lisa Bongean's Old Glory Gatherings pattern here) quilt is bound and hanging in its place for the holidays.


For the first time ever I took my Mom's quilts off my quilt rack and put Christmas colored flimsies on it. The one in front is Practice What I Preach by Pam Buda. I started it at Pam's workshop last January.
The middle quilt is a log cabin star top made by the late Jill Reid. I need to get it quilted--I really love it over the back of my sofa.
The top flimsy is my Rocky Mountain Stars  based on Bonnie Hunter's Smoky Mountain Stars free pattern.
Maybe by next Christmas some of these will actually be quilted. And then again, maybe that is too much to hope. (Speaking of hope, I have Bob Hope's Lemon Drop Kid playing as I write. Love the old Christmas movies.)

The blanket stitching on my Spring LFAS is finished. I decided to add a chicken to this little piece. It has quite a beak--looks more goose-ish, if you ask me (which I know you didn't). Again, this is based on Lisa's pattern linked above.

 I'm still using the windmill blocks in red/blue/black and cream as my leader/enders. It is fun to have a project where the blocks come together quickly (and are larger than 3")! But since most of my stitching lately has been by hand, these haven't been multiplying rapidly.

I was going to try and post some Christmas decor, but it is late, I am tired and getting loopy, so maybe next time (though not a lot has changed since last year).
Until next time,
Janet O.


Thursday, October 30, 2014

It's about time!!

This was only my March UFO.  I made the final border really large, but may trim it down. I want enough space in case I choose to do swirly feathers. It isn't a top that I think needs feathers, but I want to practice them, so I figured it would do. Then it will be bound with the black polka dots fabric in the sashing. I haven't measured this since I put the borders on today (finally!!!), but it appears to be exactly 80-something by 90-something. : ) I had to put it on my design wall sideways.
My year of the UFO has been an abysmal failure! My goal was that by now I would have 7 UFOs to flimsy stage. I wasn't even expecting to finish one a month. I cut myself some slack for the summer months and the holidays at year's end, and gave myself one "bye" month just in case. Little did I know.

When I was asked, back in March, to do the mini quilt trunk show in May, I became laser focused on minis and have had a hard time disengaging from that mode. What can I say? I'm hooked! So here is the news from the mini front.

My "Fall" Lamb for All Seasons (not to be confused with the Halloween LFAS which you can see in the post linked here) is now ready to go up on the wall as soon as October is history.                                                             If you are new to the blog, this is part of a series of seasonal little quilts I have been making using the free Primitive Gatherings "Old Glory Gatherings" pattern.

Next up is what I am calling Cherry Chocolate Churndash. This was a copy of a quilt made by Kathie Holland (inspiredbyantiquequilts blog). I admired hers and she offered me fabrics to make one like it. The churndash blocks finish at 3".
I am really smitten with it. You can't see the quilting very well from the front.
 This back view gives you a better idea. Recently Mary, (quilthollow blog) described how to get a good photo of quilting designs, and I concur. It is how I take my photos of quilting, too. In the morning I lay my quilt in front of an East facing window and let the natural light spill across the surface. The shadows accent the quilted pattern. Then I take the photo WITHOUT a flash.


I think the quilt is very happy in its new home on this table in my bedroom. Love the colors, the fabrics, and the pattern! Thanks so much, Kathie!


Another nod to Kathie for the fun blocks shown here.


These windmill blocks finish at 4" and are made using one of the little templates found in this set from Baycreek Quilting. I lifted this photo from their website. Kathie had recently made a little quilt from these blocks and provided the link to order the templates.
You can order them from Baycreek Quilting here.  You get this entire set, with shipping, for under $10.


I am using this for my current leader/ender project. I don't know how large I will go with this. Right now I have just cut a bunch of reds, blues, and blacks from my scrap basket. I'll see where I am when I have used these up and decide whether or not to cut more.

We've had some gorgeous sunrises lately. A few days ago I told some of you I had run outside in my pjs and scampered across my frosty lawn, barefoot, to get to the corner of my yard for this shot without any power lines in it. I think it was worth it. : )
Until next time,
Janet O.